3D Printing
History of 3D Printing
Have you ever heard of a man called Charles (Chuck) Hull? If you haven’t don’t worry, you’re not alone. But anyone who’s passionate about, or works in 3D printing will certainly know all about Chuck Hull. Some even refer to him as the Thomas Edison of the 3D printing industry. He was the first ever person to build a 3D printer that was capable of printing an actual physical part. The rest— as they say —is history.
Other tech geeks soon came on board with this exciting new technology. They continued to develop the equipment and materials, making it easier to use and cheaper to buy. Thanks to their efforts, 3D printing is now available to us all. What you see today began way back in March 9, 1983—some 33 years ago at the time of writing. Like all great innovations, 3D printing has gotten better and more affordable with time. And as technology develops and demand persists, the prices continue to fall.
Other tech geeks soon came on board with this exciting new technology. They continued to develop the equipment and materials, making it easier to use and cheaper to buy. Thanks to their efforts, 3D printing is now available to us all. What you see today began way back in March 9, 1983—some 33 years ago at the time of writing. Like all great innovations, 3D printing has gotten better and more affordable with time. And as technology develops and demand persists, the prices continue to fall.
3D Printing 101
3D printing creates three-dimensional objects using clever devices simply called 3D printers. Before we get into that, let’s start by taking a look at a conventional printer. These common, machines print out text and images in 2D, or two-dimensional. A 2D printout has length and it has width, but it doesn’t have depth. In other words, it’s flat, like the text on this page, or a photograph.
OK, now think about a flat image on a page—anything you like. If you were to print it in 3D format, you would be using a special material, not regular ink or toner. On the first print, the special material raises the image above the surface of the file just a little. Put the same page through the same printing process many times over and each new printout adds yet another layer to the previous one. Every time this happens, the image gets higher and higher. After hundreds or thousands of reprints, that flat image transforms from a 2D image into a 3D object. You now have something you can pick up and hold in your hand. This is the basic concept of how a 3D printer actually works. It builds up layer after layer of the material until the image on the file becomes a physical 3D object.
OK, now think about a flat image on a page—anything you like. If you were to print it in 3D format, you would be using a special material, not regular ink or toner. On the first print, the special material raises the image above the surface of the file just a little. Put the same page through the same printing process many times over and each new printout adds yet another layer to the previous one. Every time this happens, the image gets higher and higher. After hundreds or thousands of reprints, that flat image transforms from a 2D image into a 3D object. You now have something you can pick up and hold in your hand. This is the basic concept of how a 3D printer actually works. It builds up layer after layer of the material until the image on the file becomes a physical 3D object.
Before you can print, you have to be able to tick three important boxes, in this order:
#1 Your 3D Object
The whole idea behind 3D printing is to print something you can’t find easily by other means. It’s even better to print something you can’t find at any store. In other words, it’s often a unique item that you want or need on demand. Once you know what you want to print, it’s time to go to the next stage — the drawing board.
#2 Your New 3d Model
Before your 3D printer can print your object it has to know what to print. This is where your 3D model or ‘blueprint’ comes to the rescue. These digital (computer-generated) files provide the exact instructions the printer needs to proceed. You can create 3D models from your computer using special 3D modelling software. Tinkercad is a good one, and there are a few other user-friendly programs out there as well. We’ll look at those in more details shortly.
You can also download 3D files from the internet, either for free or a fee. A couple of the better free sites worth looking at include Pinshape, Yeggi, and Thingiverse. Whether you create your own or choose something off the virtual shelf, you’re ready to go either way. See the bottom of this page for ideas.
#3 Access to a 3d Printer
It’s true—the price of 3D printers has fallen by a huge amount in recent times. All the same, most of us still can’t justify owning one. They’re most likely not going to get frequent use like regular ink printers. If money’s not an issue, then sure, go ahead and treat yourself. Otherwise, the most affordable way to print in 3D is to find someone with a printer. It’s should be easy to find quality 3D printing services in your local area. You may find that your school has one, or your local library. If they don’t they should be able to point you in the right direction, so check with them first.
Robo R2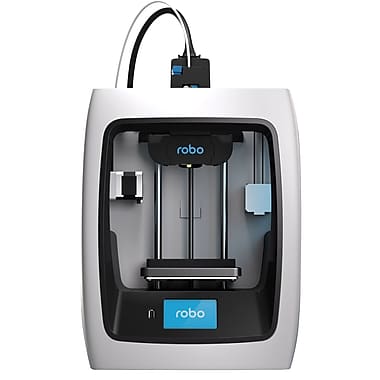
|
Model 3DT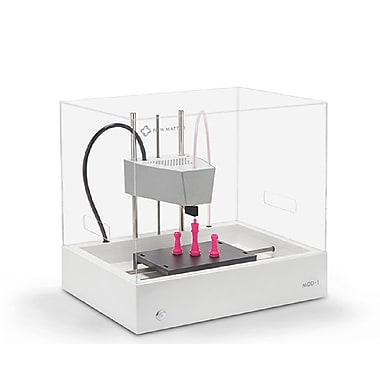
|
Files
.Stl Files
Why do you use .STL Files
STL Files / Stereolithography – Standard Tessellation Language (design file format used in 3d printing product parts and prototypes) is a file format native to the stereolithography CAD software created by 3D Systems. STL is also known as Standard Tessellation Language. This file format is supported by many other software packages; it is widely used for rapid prototyping and computer-aided manufacturing (additive manufacturing or 3D printing). STL files describe only the surface geometry of a three dimensional object without any representation of color, texture or other common CAD model attributes. The STL format specifies both ASCII and binary representations. Binary files are more common, since they are more compact.
3D printing with ABS plastic is one of the more popular materials so we’ll use that material as our example 3d printing material. A wall thickness of at least 1mm minimum is a good rule thumb. Generally speaking I’d like to see closer to 2mm thickness when 3d printing especially when using minimum angle support 3d printer settings. However when using long protrusions with counterweight without any support at one end you will probably need to add thickness. |
.Obj FilesWhy do you use .OBJ Files
OBJ File or .OBJ File is a geometry definition file format first developed by Wavefront Technologies for its Advanced Visualizer animation package. The file format is open and has been adopted by other 3D graphics application vendors.
A General Description of OBJ Files Files that contain the .obj file extension hold 3D object files created with computer drawing software. These files can contain texture maps, 3D coordinates and other 3D object data. The OBJ file format is used by a variety of 3D graphic applications. Some of the popular applications that use the .obj file extension include Microsoft Visual Studio and CADRazor. The .obj file suffix is also used for computer science object files. These files contain a collection of sequences that hold instructions that tell a host machine how to accomplish a certain task. These OBJ files may be accompanied by related metadata files. .obj files are also generated by several compilers on the Windows platform, e.g. C and C++ compilers. When a source code file is processed by the compiler, an .obj file is generated. When all source code files have been compiled to .obj files, the .obj files are linked together to the resulting .exe or .dll file. |
Filament
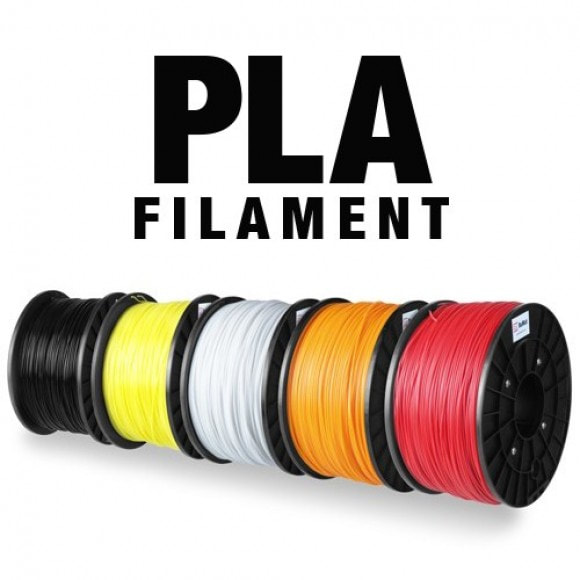
PLAPoly Lactic Acid
Why do you use this?
PLA is a thermoplastic that comes from cornstarch. It’s a great first choice for beginners getting into 3D printing. The good thing about PLA is that it cools down nice and quick. This rapid cooling prevents any issues with the objects deforming. However, if you allow PLA to get too hot, then its low melting point could see the end product warp. It’s also not very good for working with parts that have interlocking components.
|
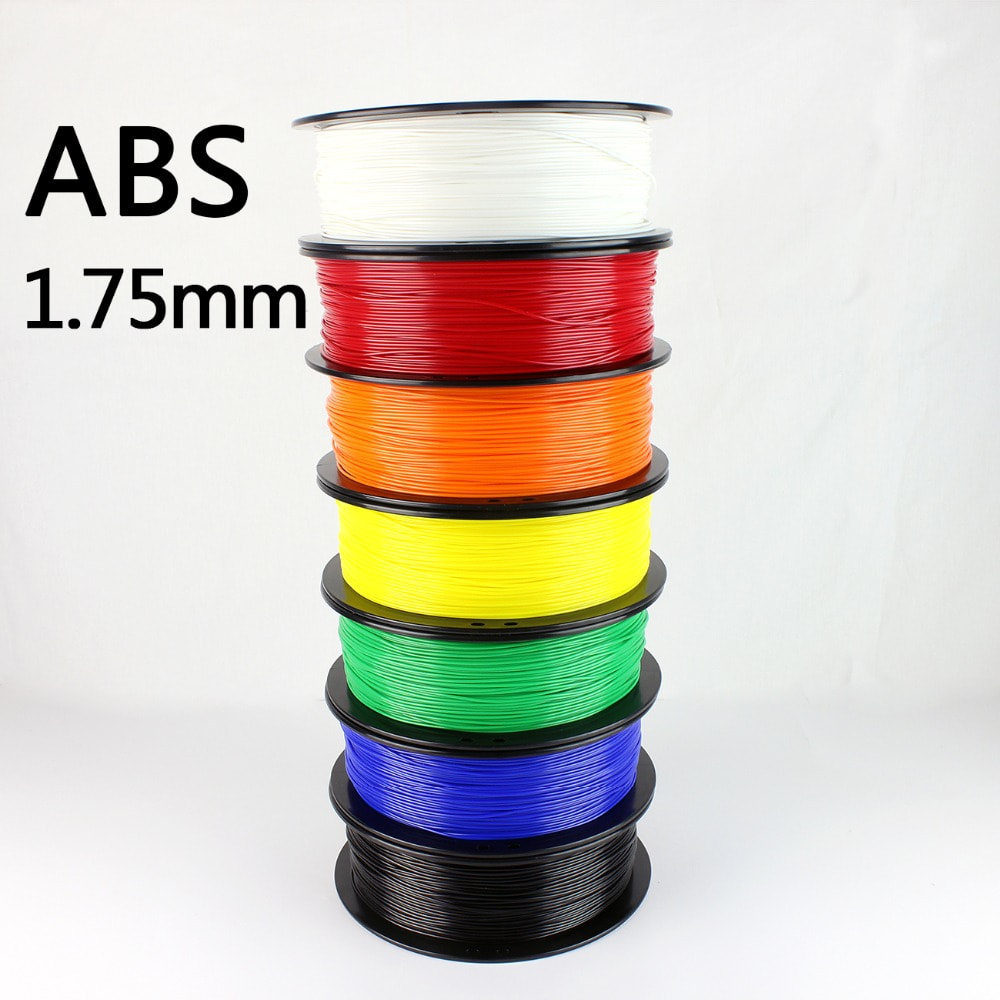
ABSAcrylonitrile Butadiene Styrene
Why do you use this
ABS is a petroleum-based plastic. It’s stronger and more flexible than PLA. Because of this, it’s better for complex objects and parts with interlocking pieces. Think of Lego bricks as one example. The main disadvantage with ABS, compared to PLA, is that it takes longer to cool down. Depending on the object, this could result in some warping issues. ABS also emits unpleasant fumes during the printing process. Some people find these fumes overwhelming. For any type of 3D printing, it’s always a good idea to work in a well-ventilated space.
|
How to create clear transparent prints
3D Printing Communities
ThingiverseThingiverse is a social network for all 3D printing enthusiasts. This site hosts hundreds of thousands of designs which can be downloaded for non-commercial purposes. Along with browsing the site for designs to print, one can also create collections of designs for future use. Other users of the site can even remix existing designs and re-upload them for sharing. The community at Thingiverse eagerly helps other users print their designs with amazingly quick responses and thorough guidance.
|
Yobi3D
Yobi 3D is the Google of the 3D world. With so many sites available offering 3D designs, there definitely exists a need for a search engine. Yobi 3D is used to search for 3D designs. The search results include information such as vertices and number of polygons. A unique feature of this site is the rating given to each object in terms of printability as Easy, Medium and Hard. These ratings indicate the level of difficulty in each design.
|
Pinshape
Pinshape is very much similar to Thingiverse and 3D warehouse. It allows free sharing of 3D designs along with the option for designers to showcase and sell their designs. The designer community at Pinshape is very active and one can find some wonderful designs on this site. It has features such as the ‘Designer of the month’ and ‘Staff pick’ which highlight the best designs of the site.
|
STLFinderSearch free 3d models from the major repositories in Internet.
3d models for 3d printing available for download. Get professional 3d models for your 3d design projects. |
YouMagine
Youmagine is from the makers of Ultimaker. The site is known for open source hardware designs. This site has a vibrant community. The designs are neatly sorted throughout various categories. One can also collect designs for later use. This site has a unique page where users can share ideas. From parts of 3D printers to cases for various electronic circuit boards, all kinds of designs are available here.
|
Google Sketchup
|
Gravity Sketch
|
Tinkercad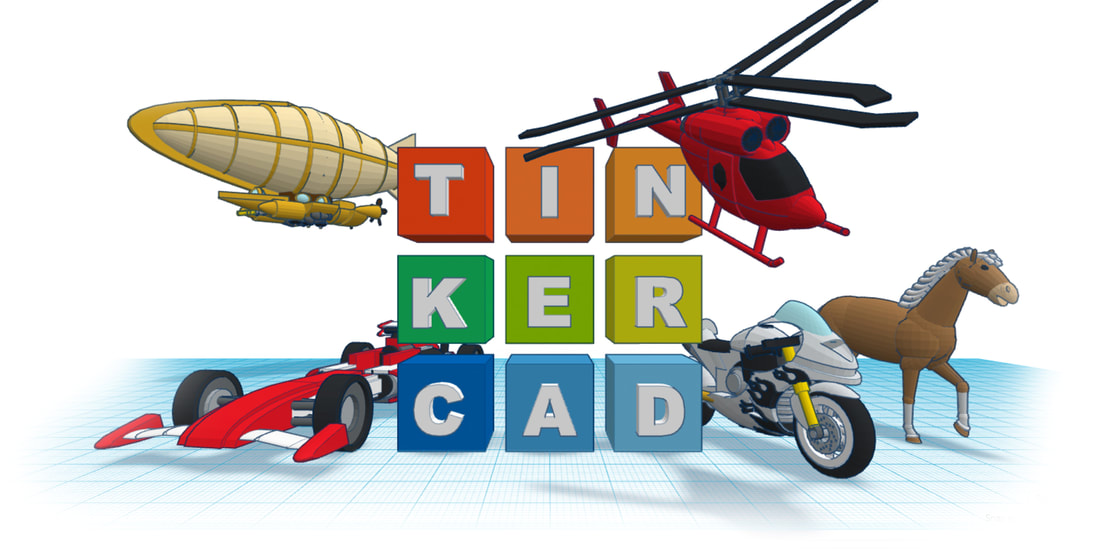
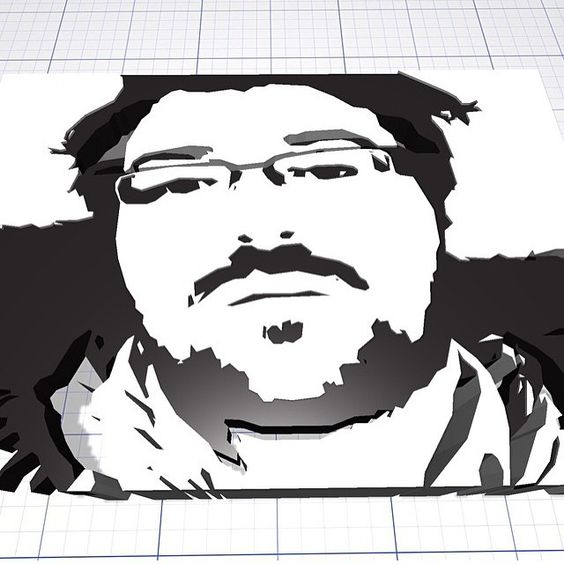
Making Your Own 3D Model
It may seem daunting to create your own 3D model, but don’t be put off. There are tens of thousands of downloads you can choose from if you need to. But the benefit of creating a 3D model from scratch is that you have total control over the final piece. Not only does this help to build your creative skills, but you get a product that’s 100% unique. There are some pretty nifty software programs out there that make this process a lot easier than it sounds. Let’s look at one of the more popular ones called Tinkercad. How Tinkercad Works Tinkercad is an incredibly simple online 3D printing app that runs in your web browser. It’s free to register and you can be tinkering within minutes. Whether you’re a complete beginner or a seasoned professional, this program has something for everyone of any age. It works using a simple 3-step process as follows: Place your shapes Adjust your shapes Combine or group your shapes to create your model You use the shapes to construct your 3D model in the user-friendly interface (screen). You can either use the ones provided by the program or import some of your own. It’s really easy to move and rotate these shapes into position as you build your 3D model. You then adjust them to precise locations and keep tweaking until you’re happy with your new design. You can attach all the shapes together as you go along. This helps to keep everything intact as you work on your design. The Tinkercad program is an incredibly fast way to learn as you go. I can promise you that it won’t take long to create your own personal 3D models, whatever your skill level. If you’re not ready to create anything from scratch, that’s okay. You can choose to follow a quest, or design task on Tinkercad created specifically to teach you a set of new skills. Or if you want to, you can browse things that other people have made. This is useful for studying what they created and how they went about it. You also have the option to modify these existing designs for your own needs. Once you’re happy with your 3D model, all you have to do is save the file with a name—that’s it. You then reopen that file when you’re ready to send it to the 3D printer. The video below covers all the basic features and functions of this incredible program: The Tinkercad 3D Design Tool Tutorial |
Morphi
|
Sketchup
|
AutoDesk123D
|
3DTin
|
umake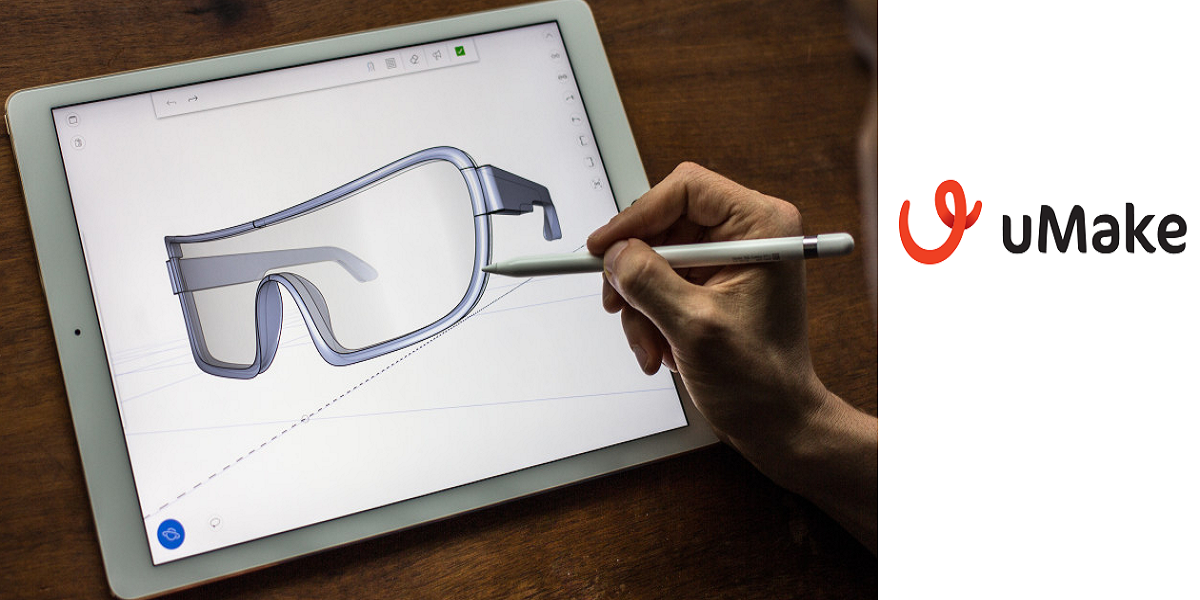
|
3d creationist |
Yeggi
|
3Dshapr |
TurboSquid
Turbosquid hosts high quality 3D models. On Turbosquid one can purchase these 3D models for download. These models are then required to be converted to STL files for printing. Each model comes with full details including number of vertices and polygons. This is very important as higher the number of polygon higher is the complexity involved in printing the model.
|
Astroprint
|
Octoprint |
3d Warehouse
3D Warehouse has a huge repository of 3D models. These models are available for downloaded. You’ll then need to convert the downloaded 3D design to .STL file format before printing. This site is an extension to Sketchup software which is used to create 3D Models. This is an excellent place to find near identical models of monuments and buildings from around the world.
|
You've made your model, so what next?
Okay, so you have your first 3D model and are eager to print it out. Before you can do that, you have to go through a procedure called slicing. Slicing is a process where you divide your digital model into many hundreds, or even thousands, of horizontal layers (see image below). You do this using special software, and it’s most likely a feature of your 3D modeling program, but make sure you check
Some 3D printers will force you to use a specific slicing tool, so that’s something else you will want to check at the setting up stage. If you’re going to use free a 3D modelling software program, make sure it’s compatible with the 3D printer you intend to use. Today, most 3D creation and editing programs seem to work well with the majority of 3D printers on the market, but check anyway. Like everything else about 3D printing, slicing is not a complicated task once you become familiar with it.
Once your 3D model is sliced, it’s ready to send to the 3D printer. How you do this depends on the printer type and the model. Common options are via USB, WiFi, MicroSD card and others. That’s about it. After you upload the file to the printer and press the print button, the printing begins. You can then watch in awe as it creates your 3D object layer by layer, reading every single slice of the two-dimensional image. If it’s a big job, you’ll want to go away and come back later, checking in from time to time to makes sure everything’s fine.
Slicer Software
meshmixer
|
Slic3r |
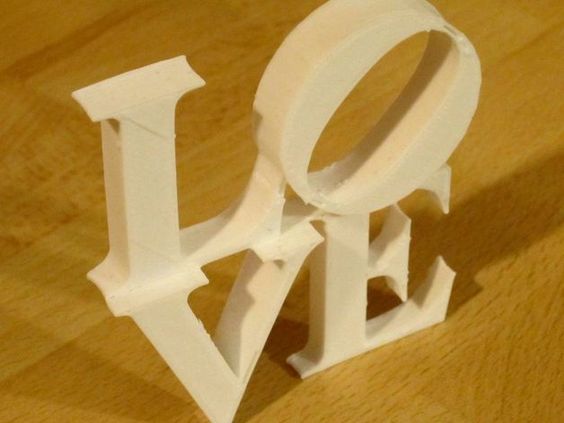
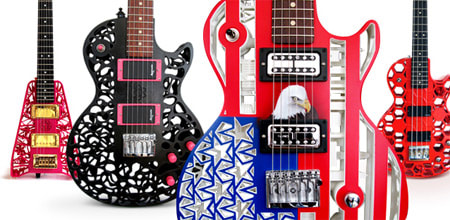
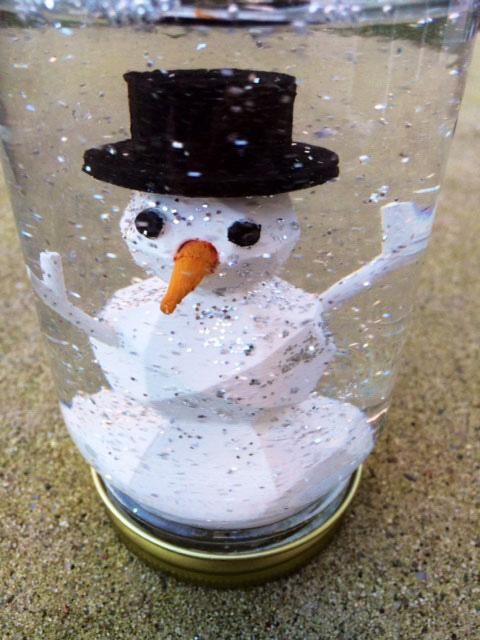
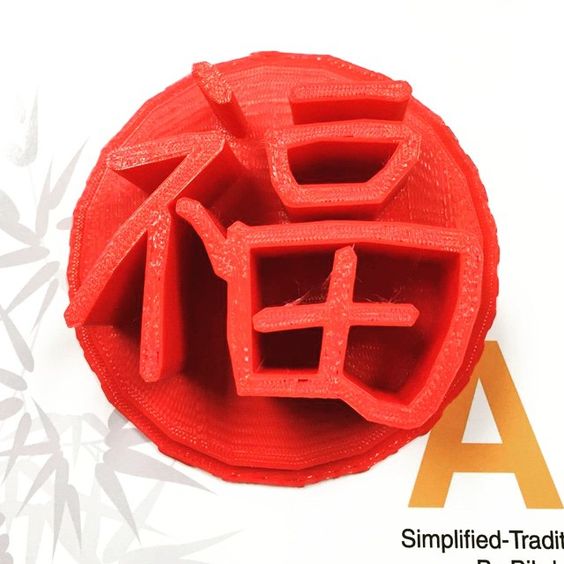
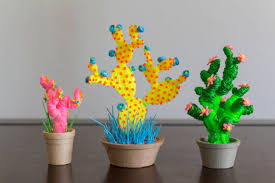
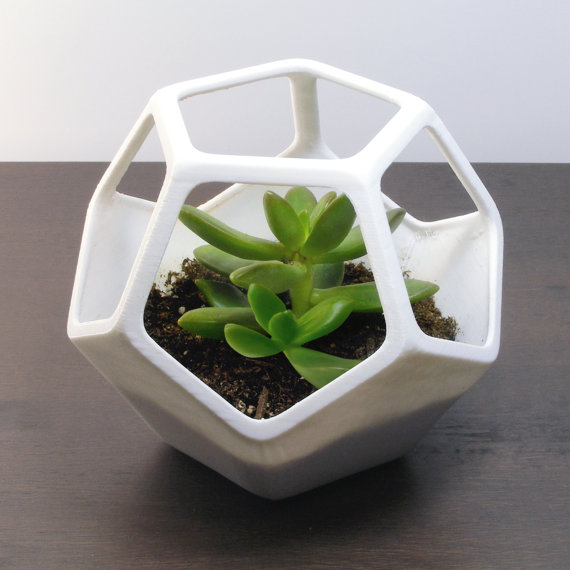
What to print?
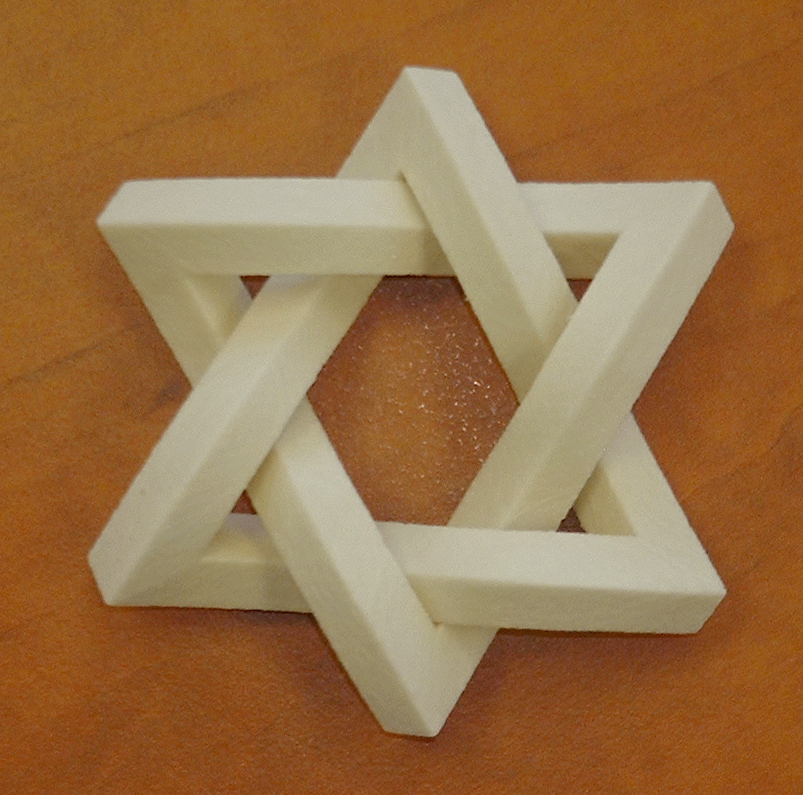
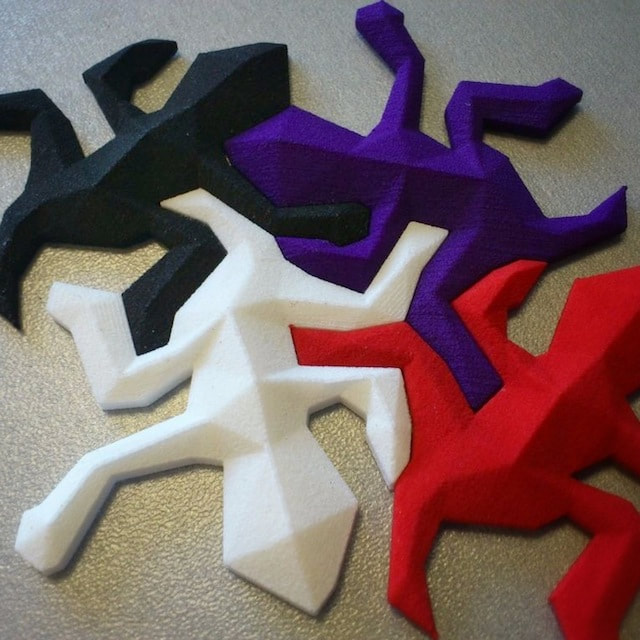
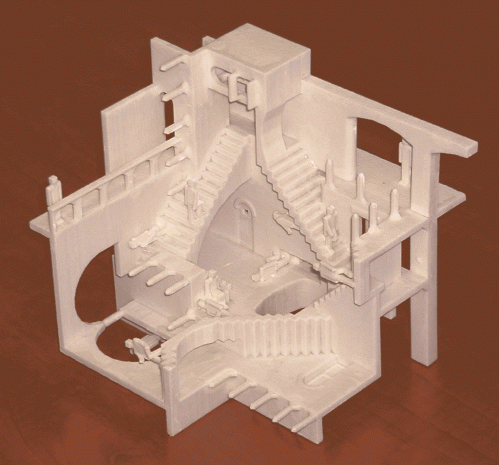
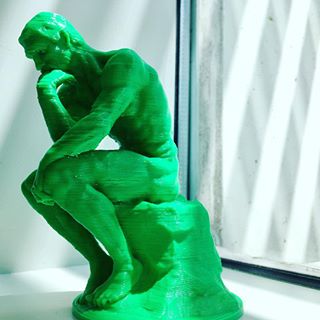
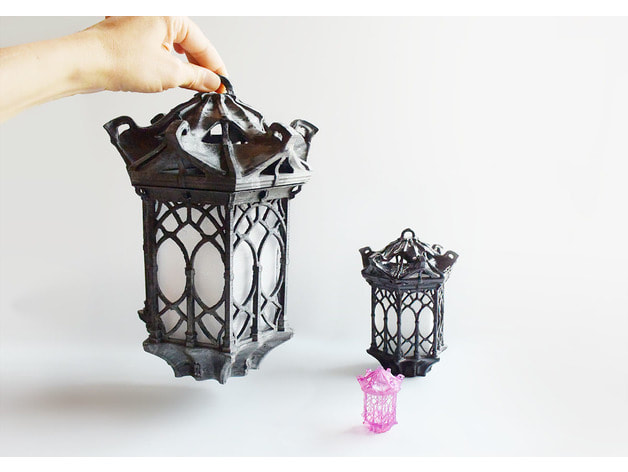
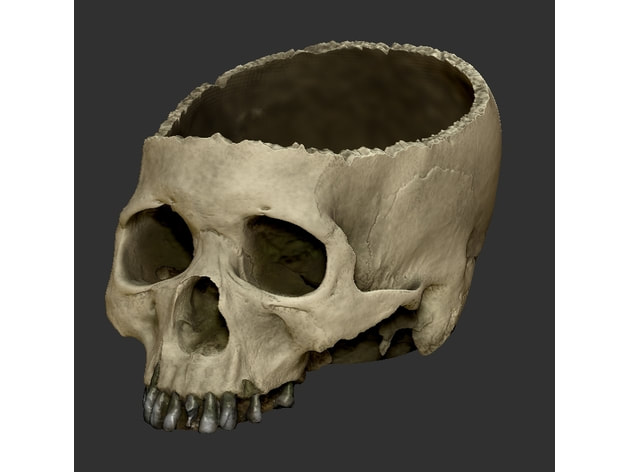
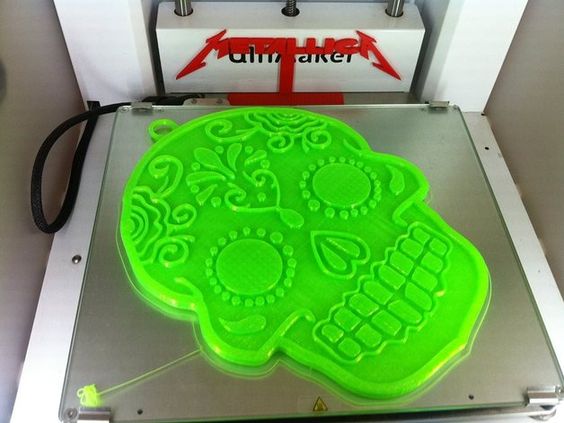
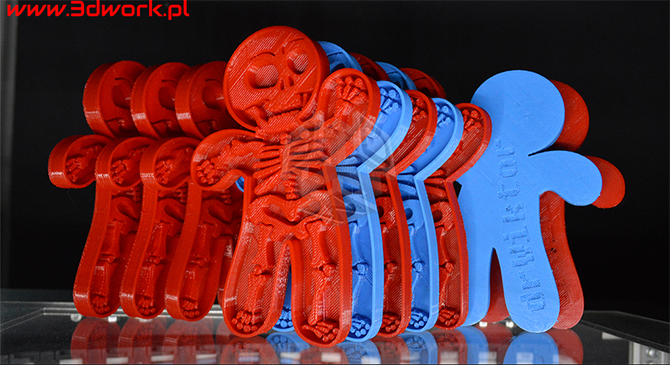
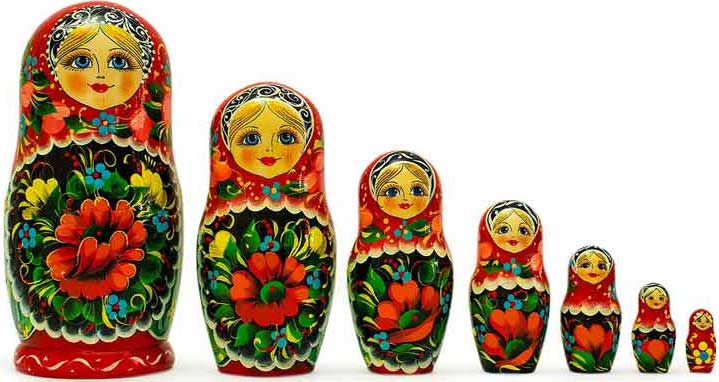
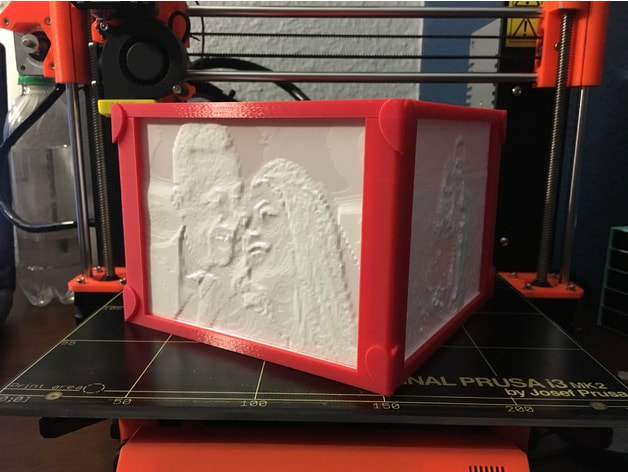
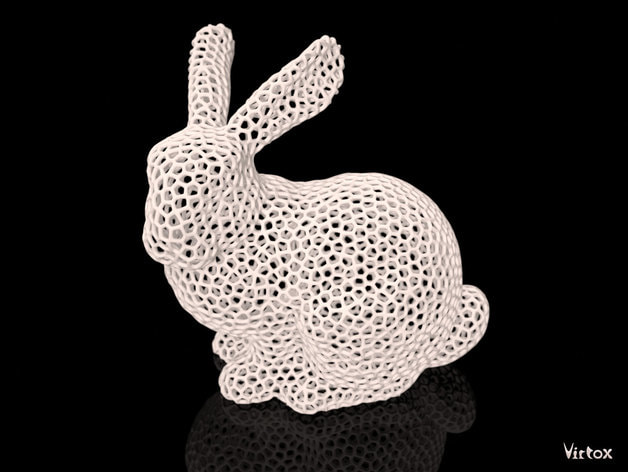
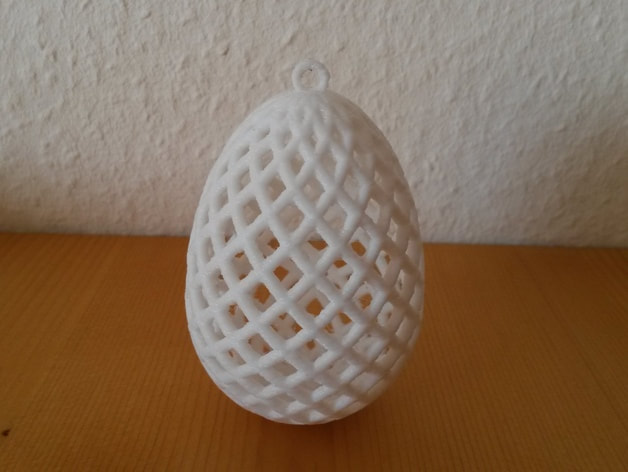
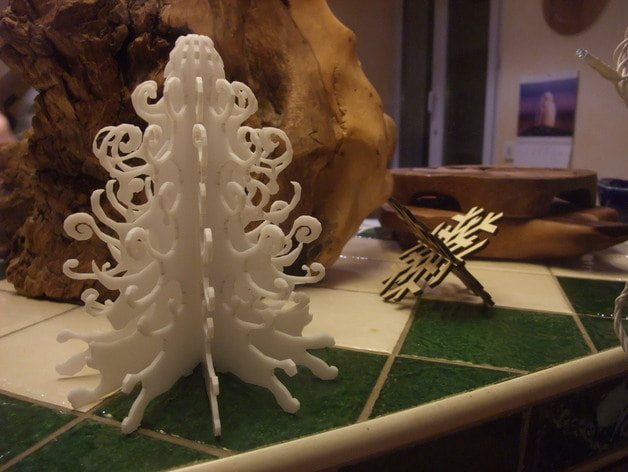
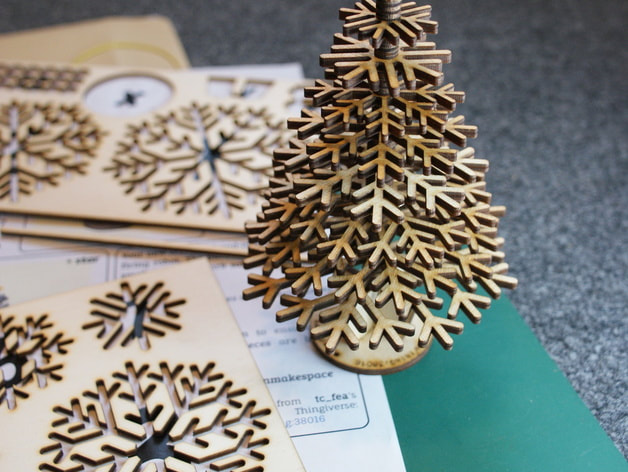
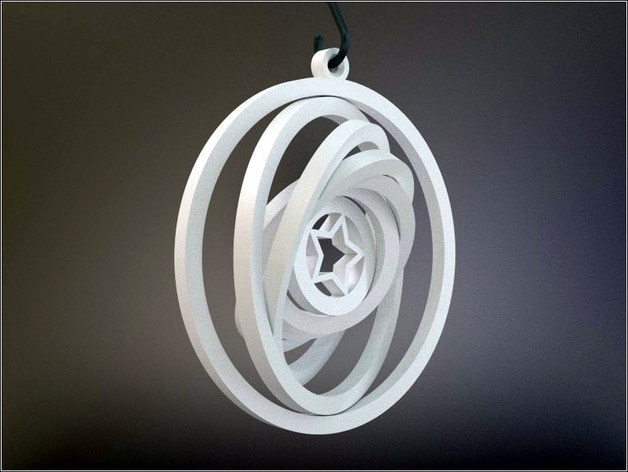
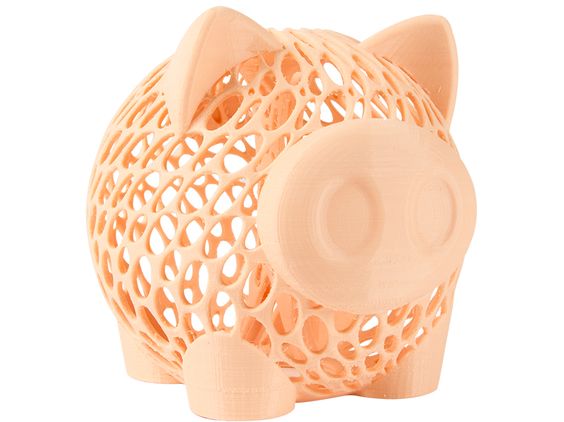
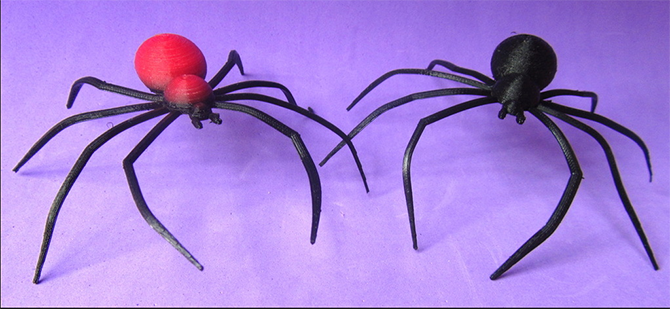
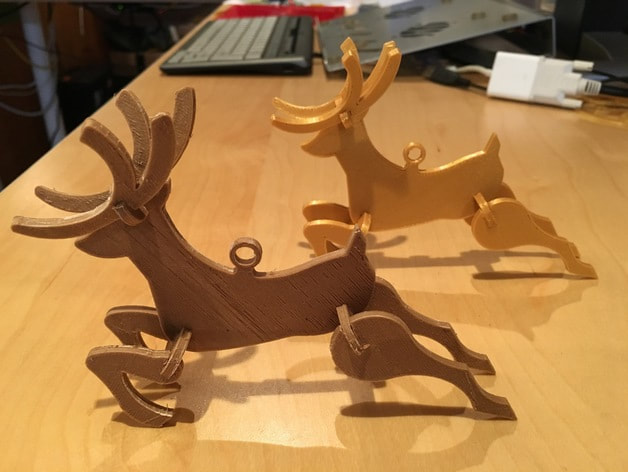
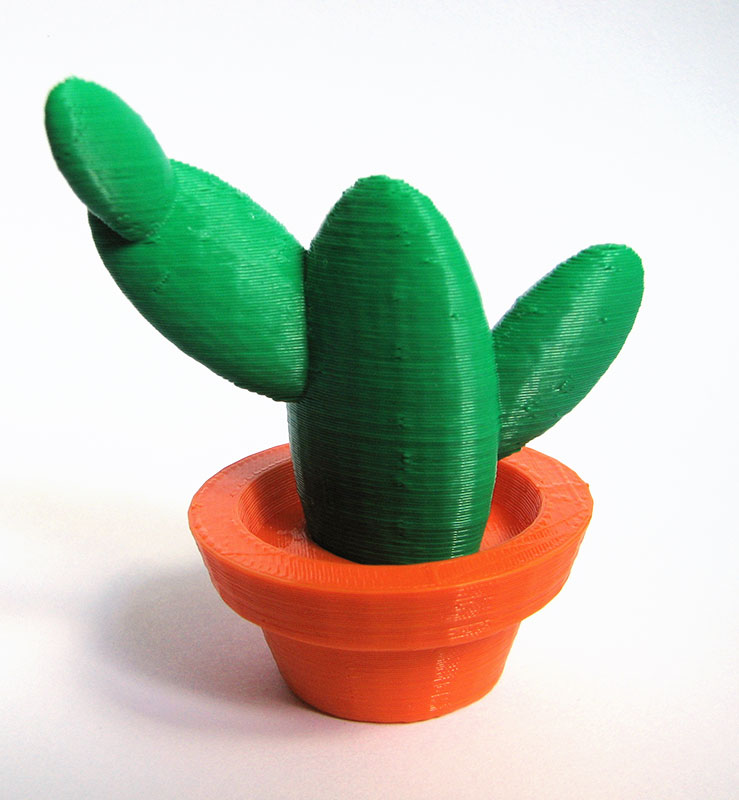
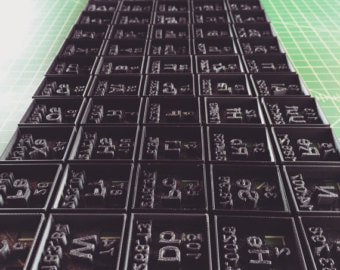
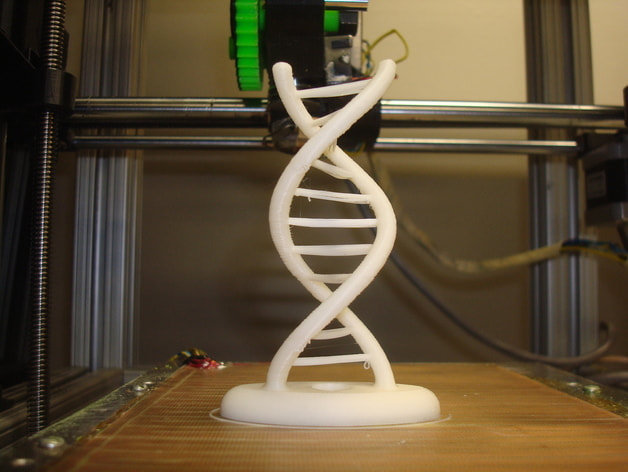
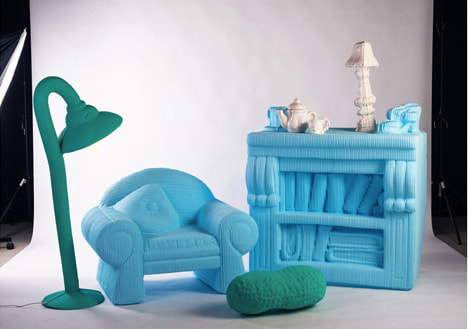
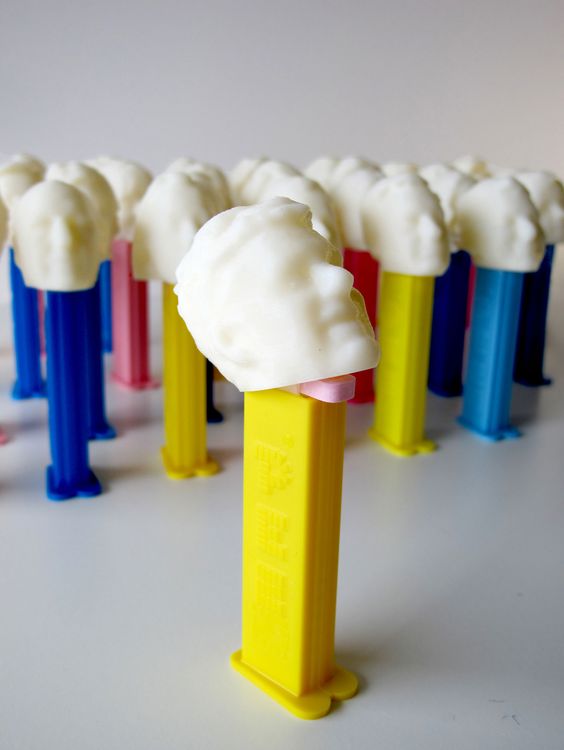
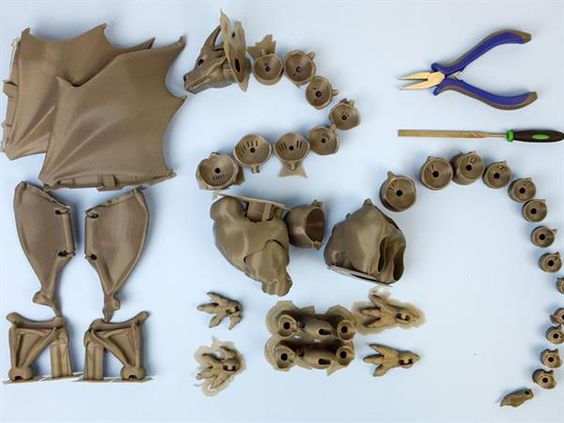
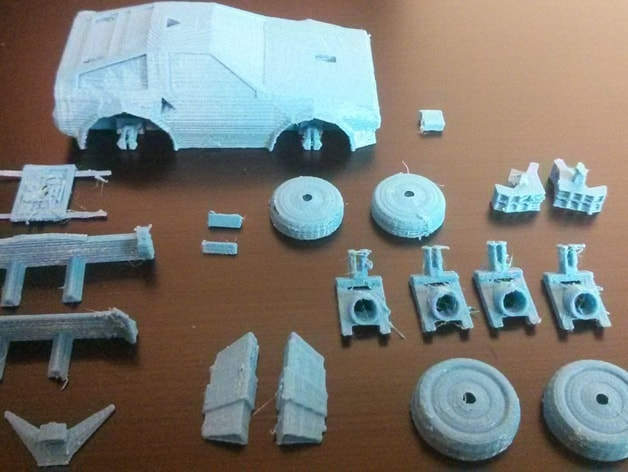
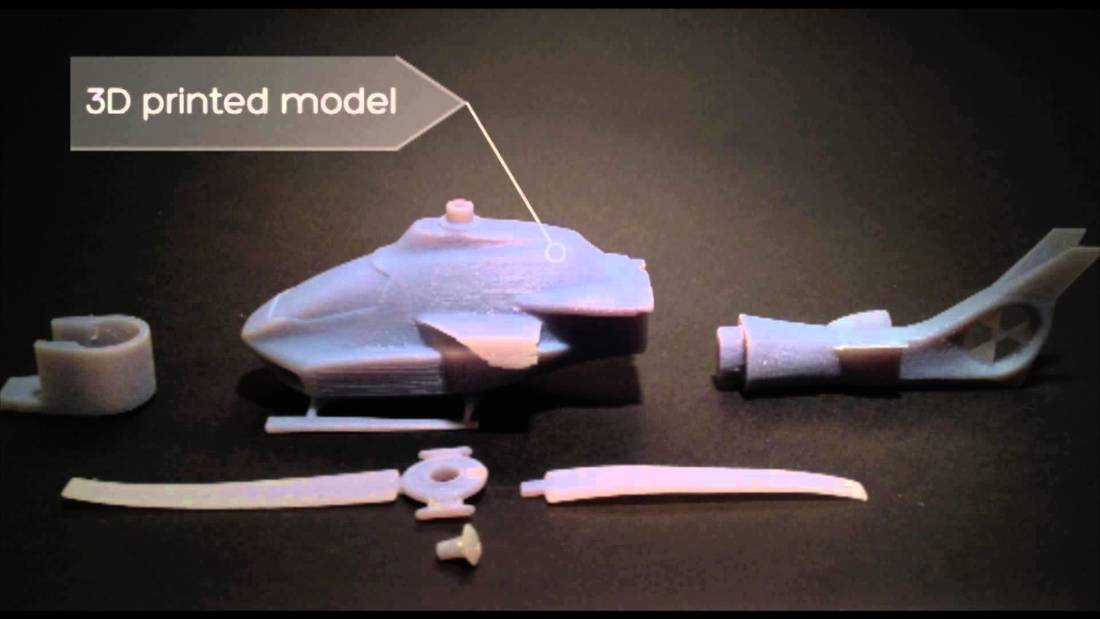
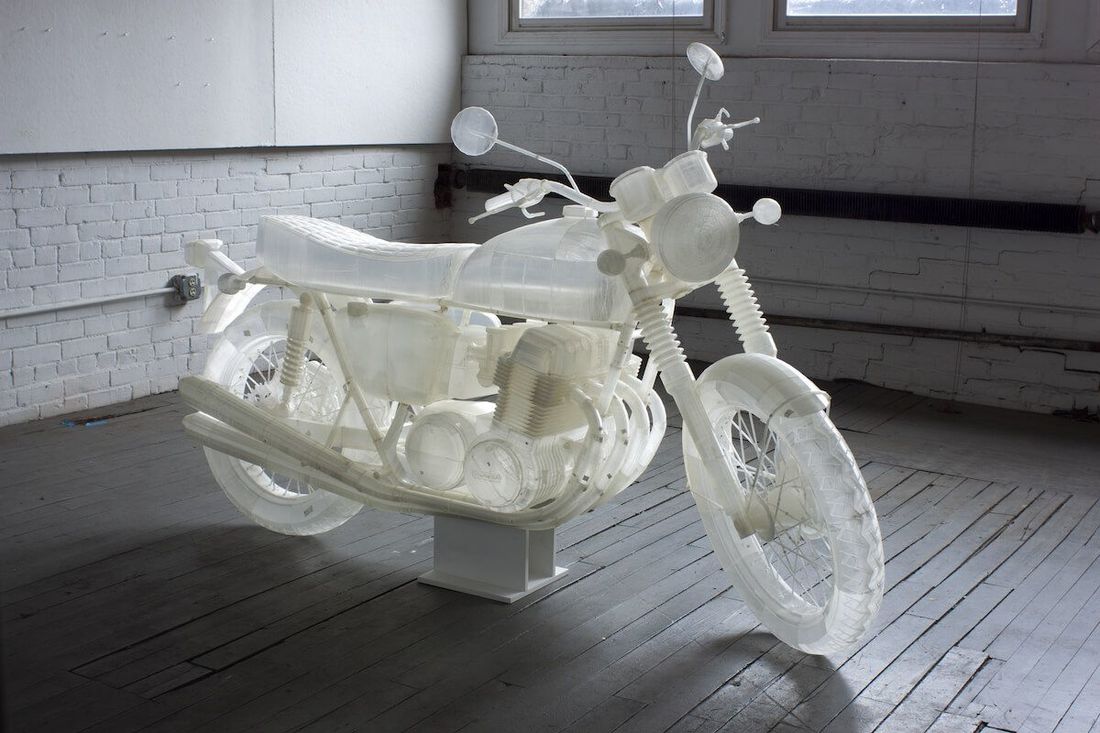
There are so many cool and useful things to print in 3D. In fact, the only limitation is your imagination. There are toys, game pieces, custom jewelry, and bookstands. You can design and print drawer knobs and decorative door handles, or even make a new shower head. When you become more adventurous the sky really is the limit. You can create a groovy iPhone holder or an iPad stand. How about a 3D printed guitar, a camera lens, a set of coffee cups, or a pair of high heels shoes for mom?
The images below show you just a few of the many thousands of useful and enjoyable objects you can create using 3D printing
The images below show you just a few of the many thousands of useful and enjoyable objects you can create using 3D printing
Lessons
Lesson #1
|
Lesson #2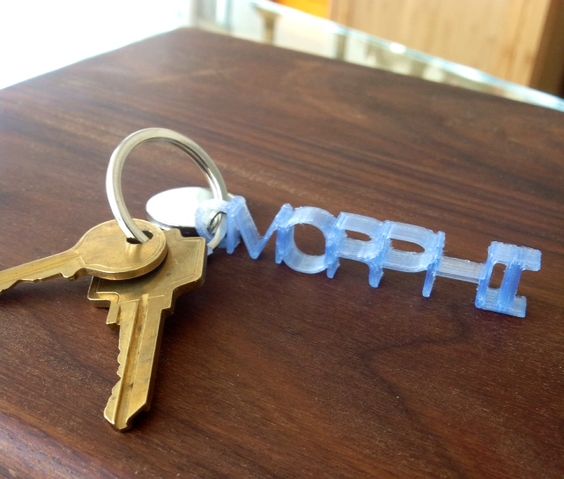
|
Lesson #3 |
Lesson #4 |
Lesson #5 |
Lesson #6 |
Ideas for Plans
Architecture
3D Building accessories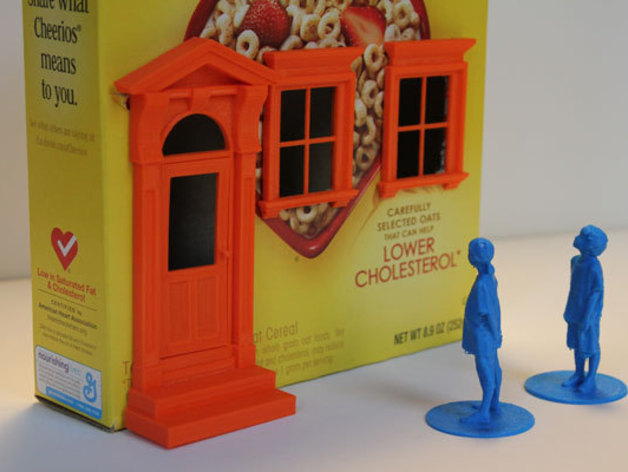
|
Buildings
|
Castles |
Bridges |
Famous Iconic monuments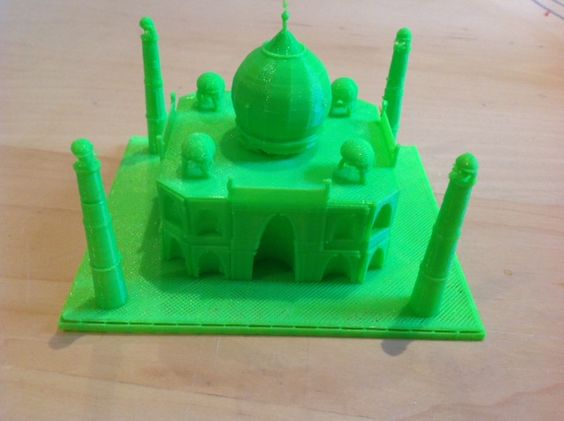
|
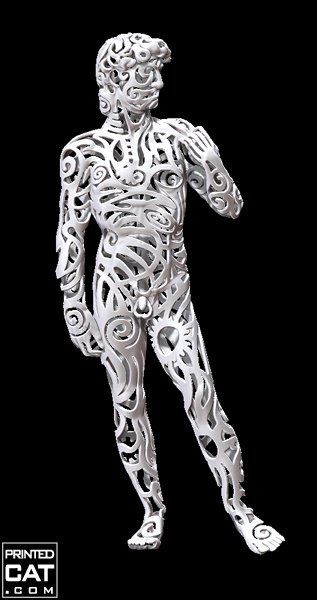
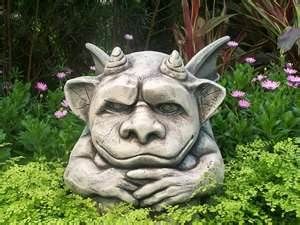
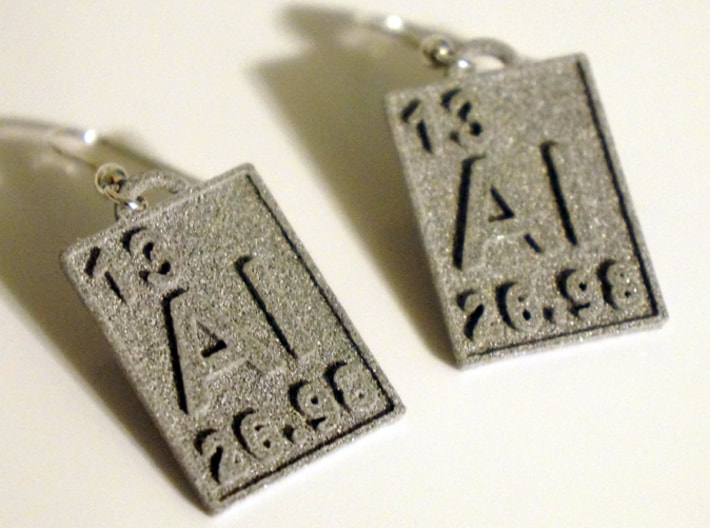
Art

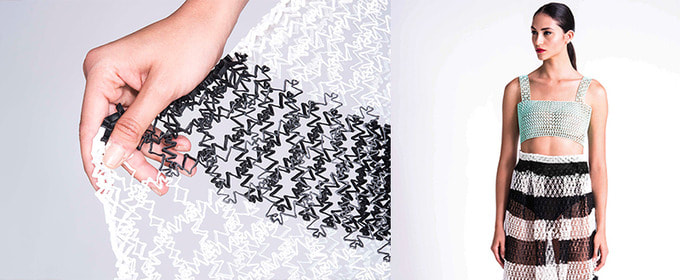
Clothing
Glasses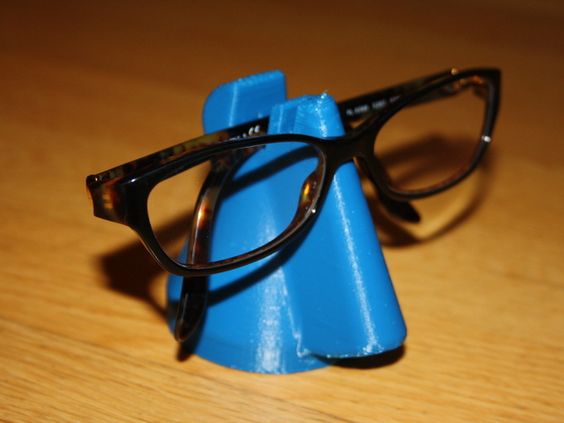
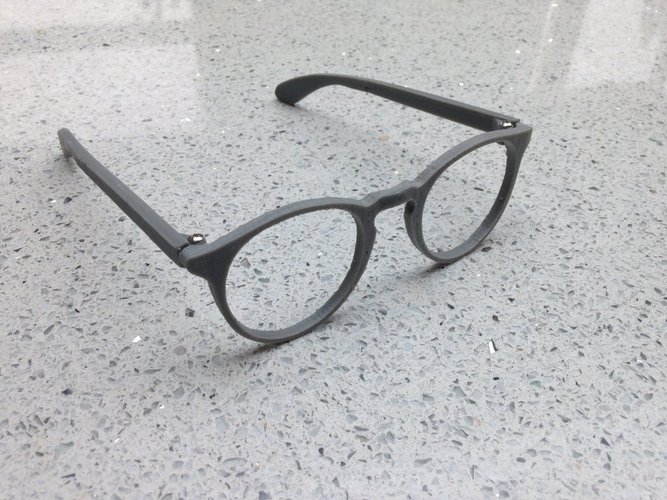
|
Buttons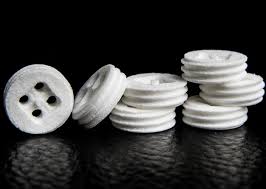
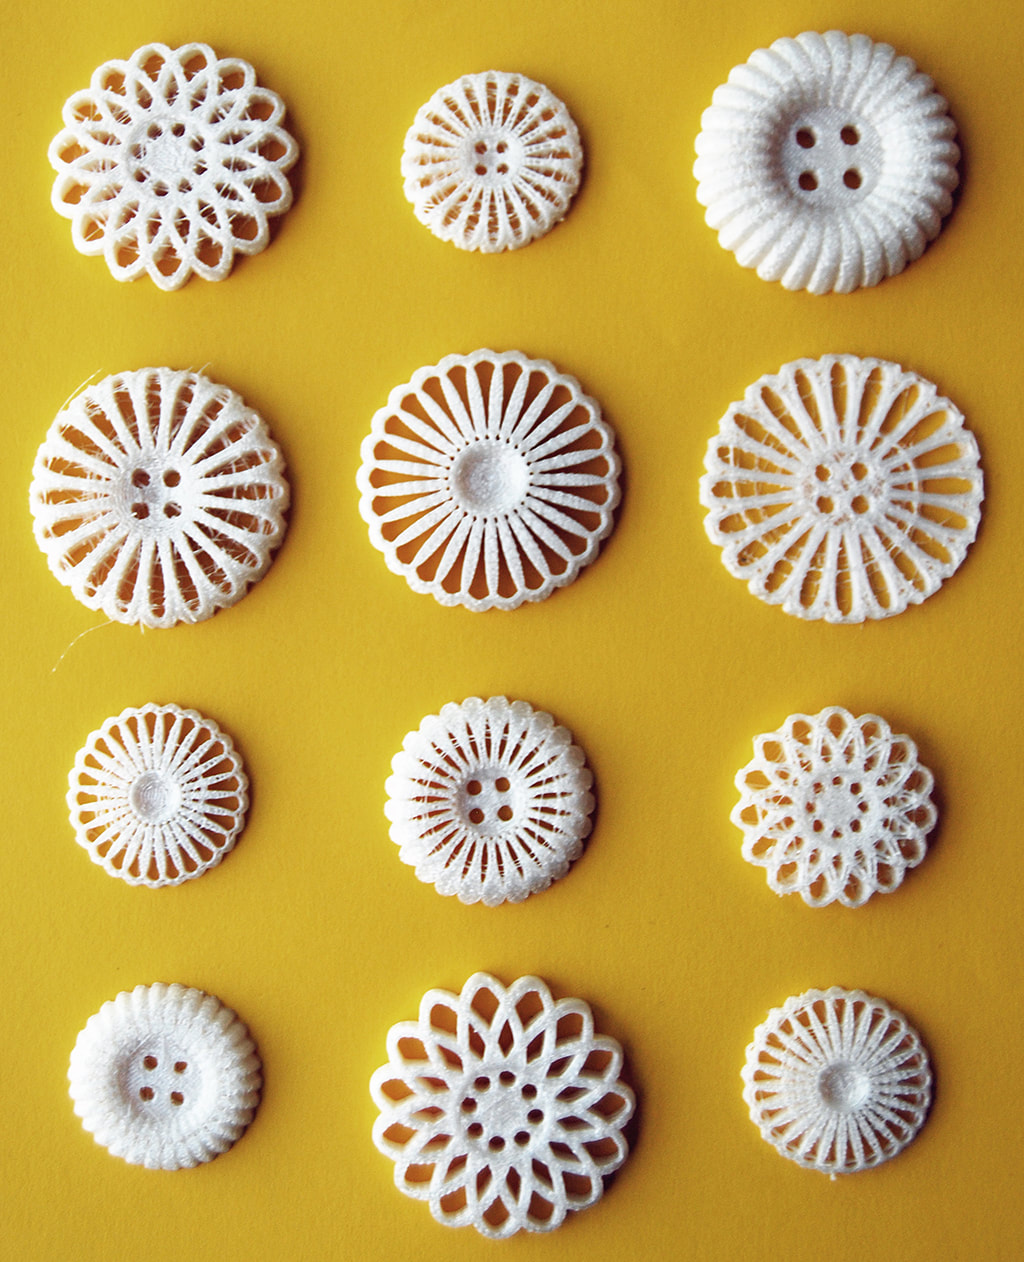
|
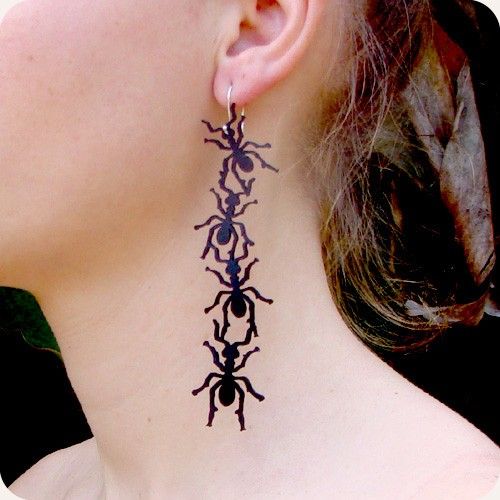
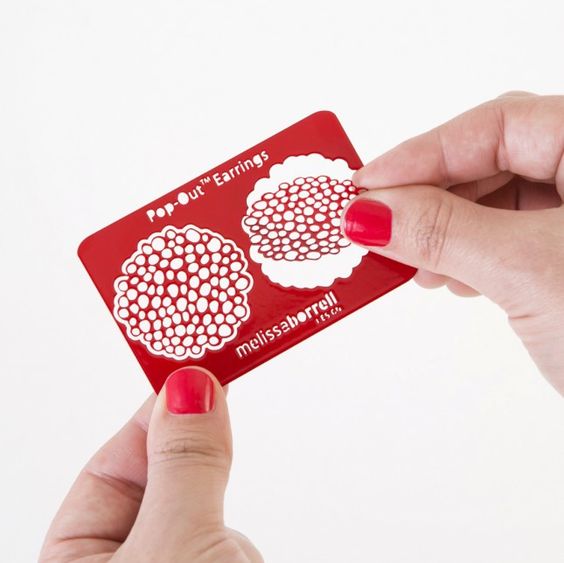
Earrings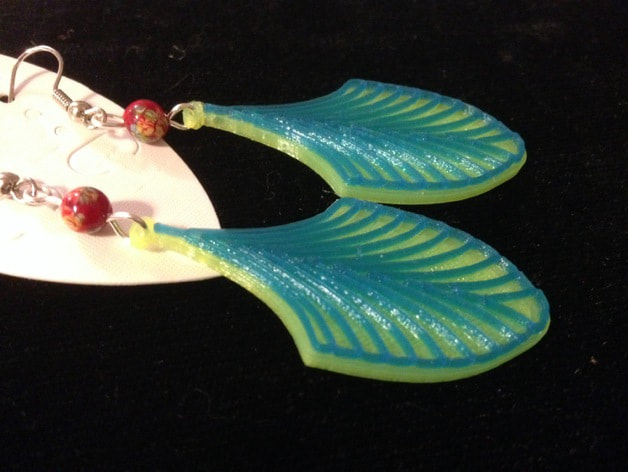
|
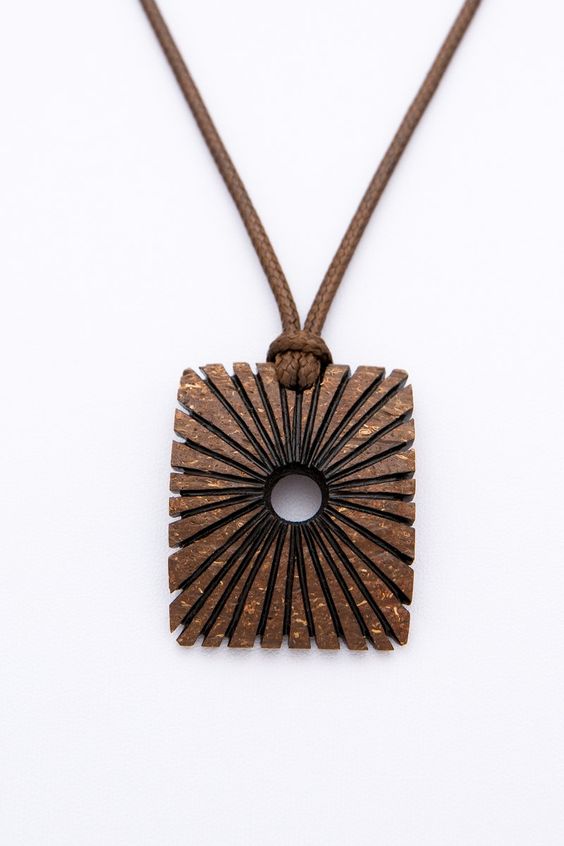
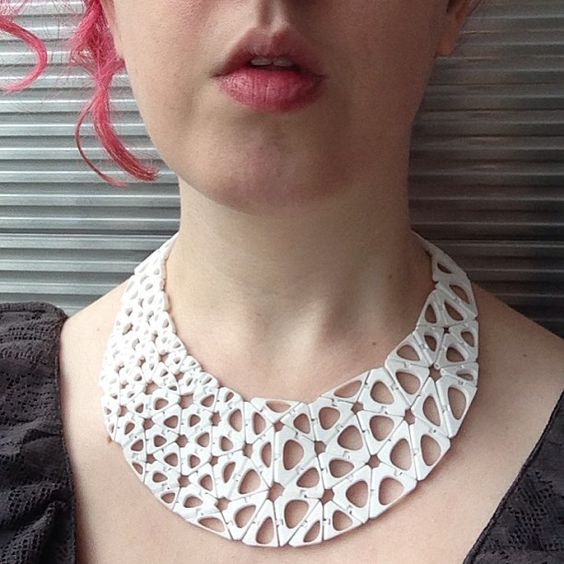
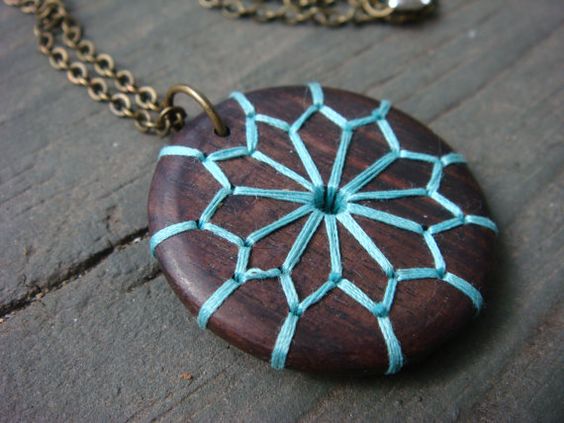
Necklace
|
Rings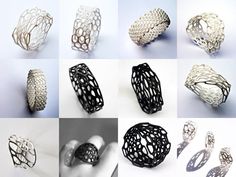
|
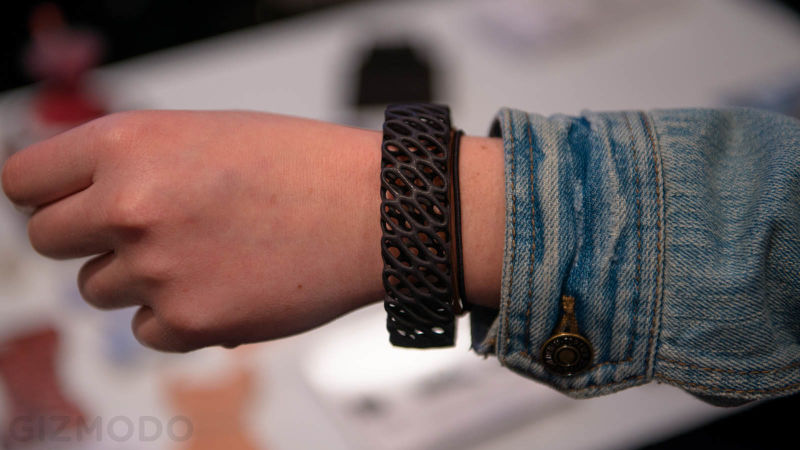
Bracelet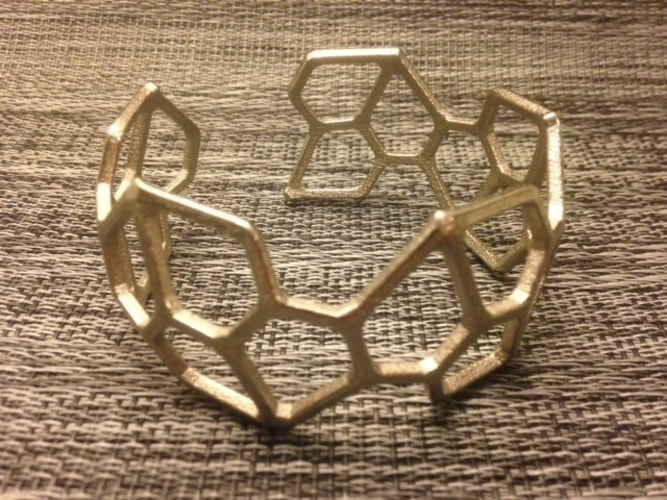
|
Clothing
|
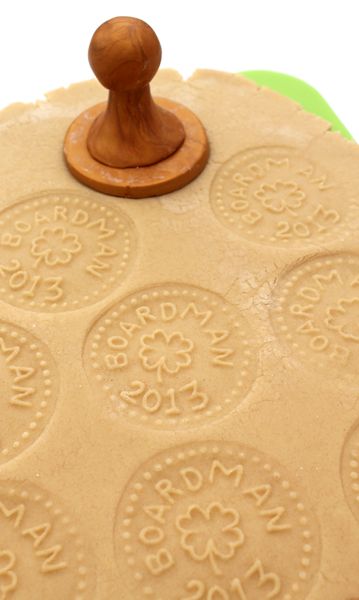
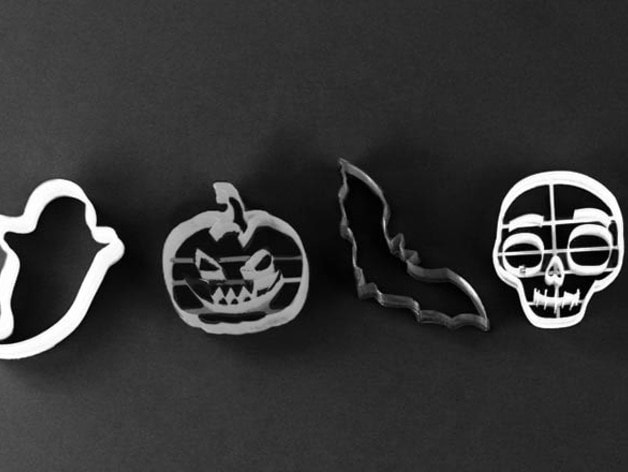
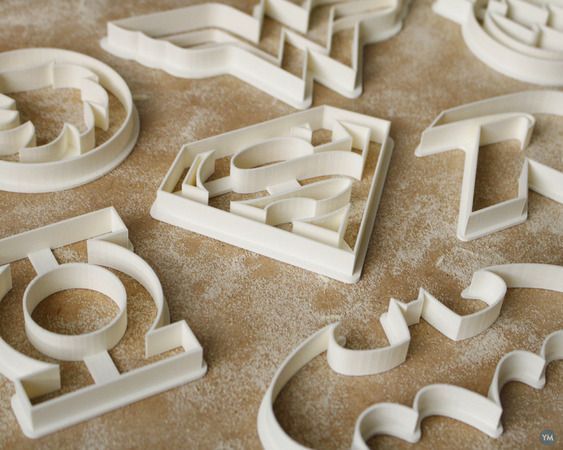
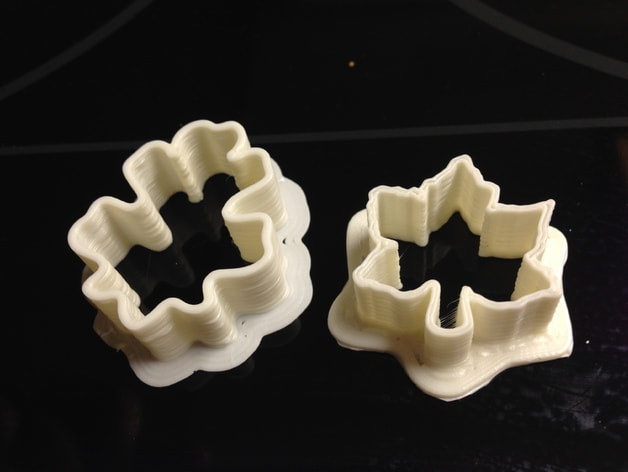
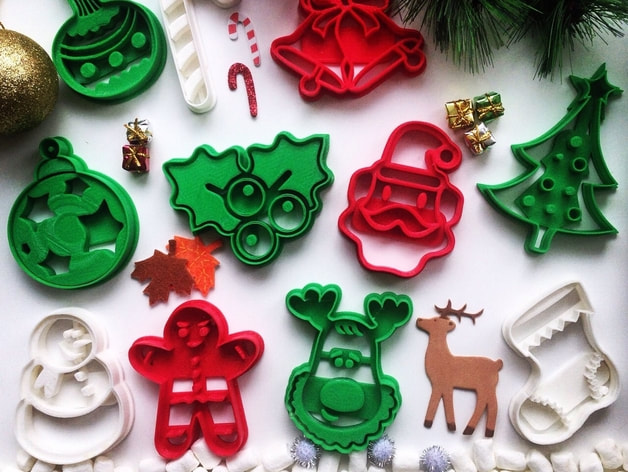
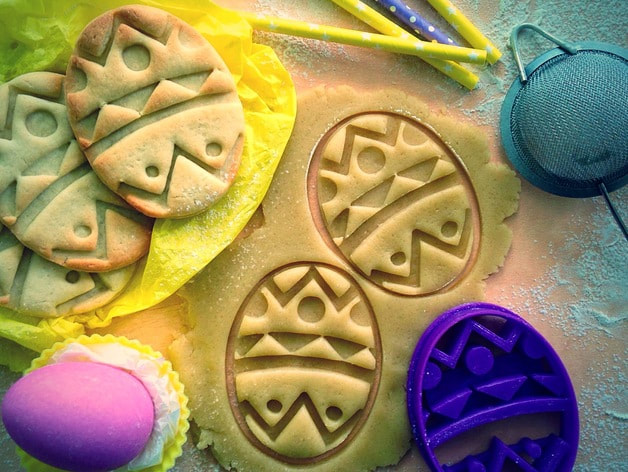
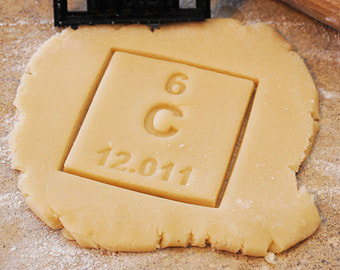
Cookie Cutters
Cookie Cutter Photo Tutorial

|
|
|
|
|
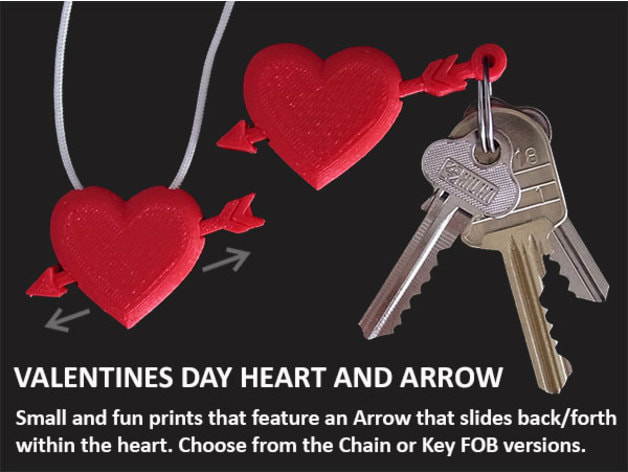
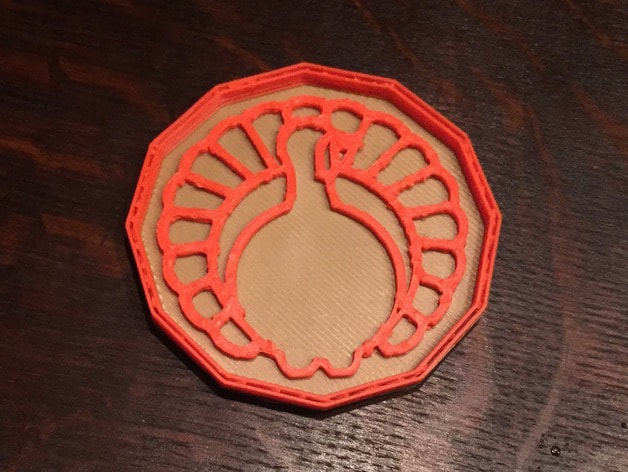
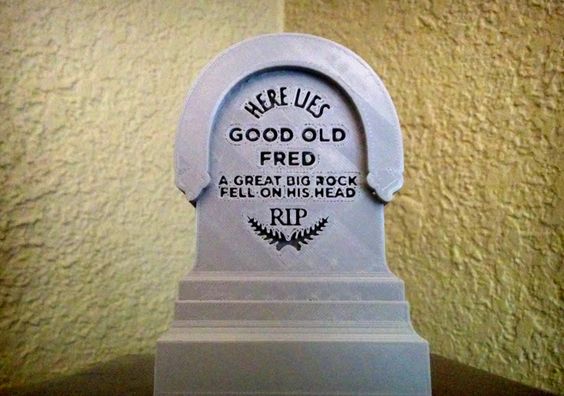
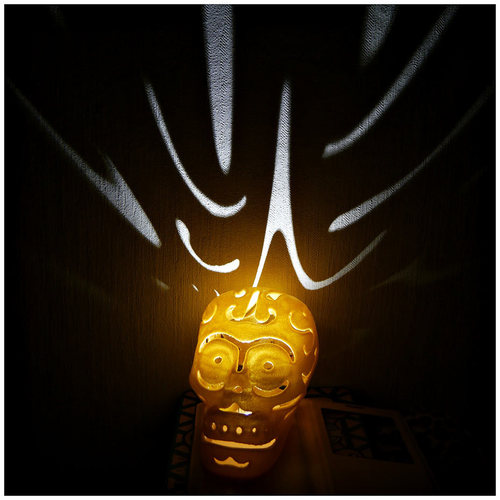
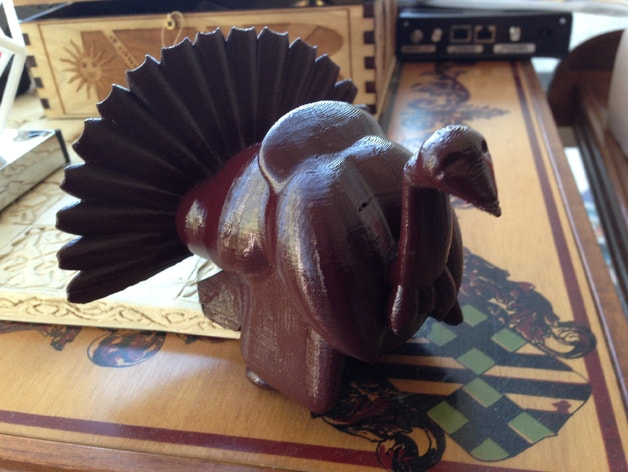
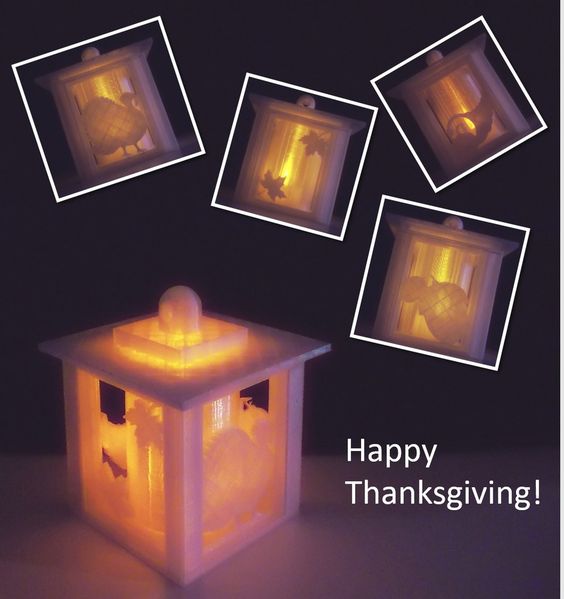
Holidays


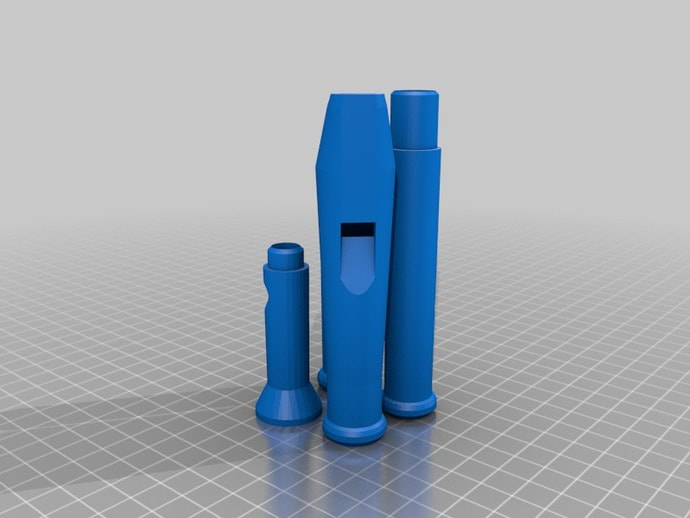
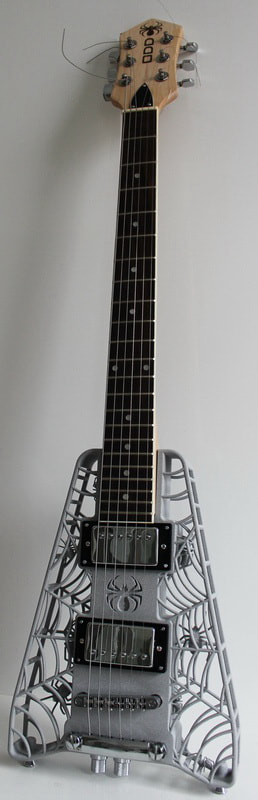
Music
Recorders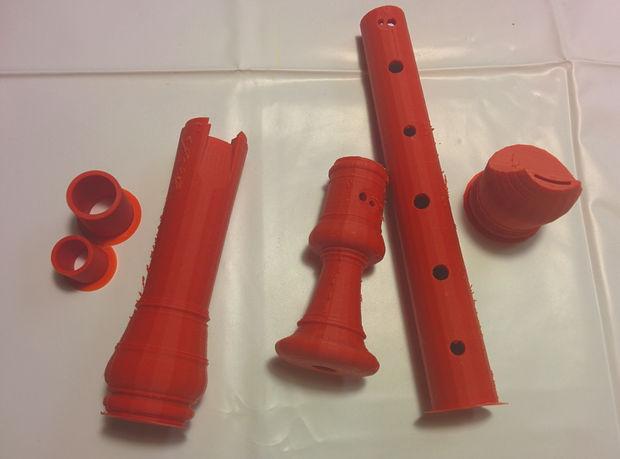
|
Guitars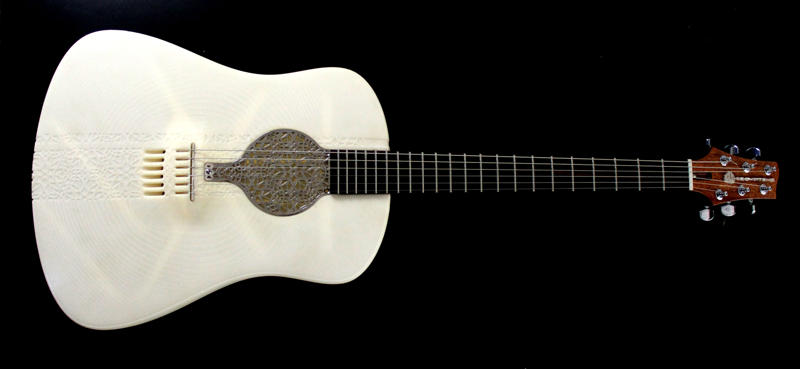
|
3D Varius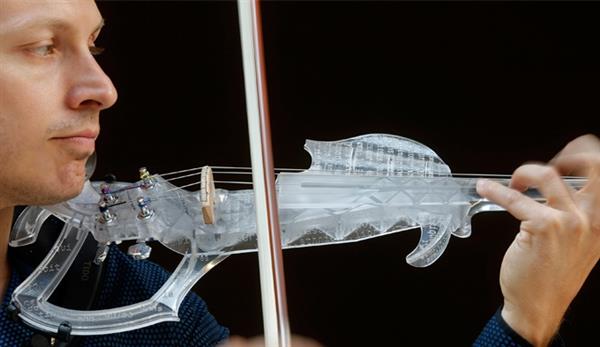
|
Home Decor
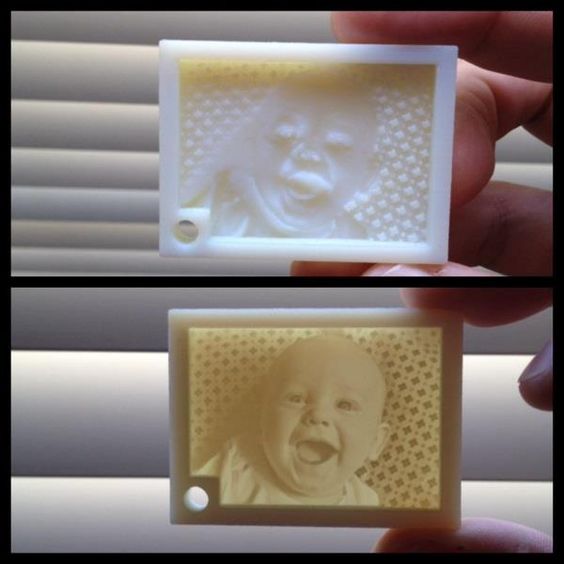
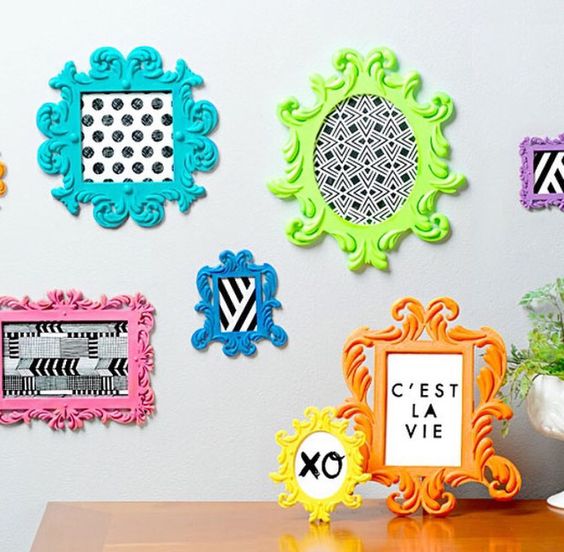
Photo
|
Door Handles
|
Switch Plates
|
Bird
|
Door Knocker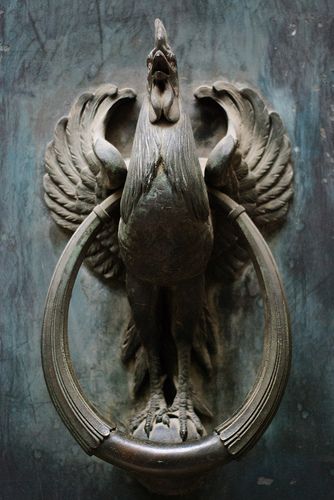
|
Door Knocker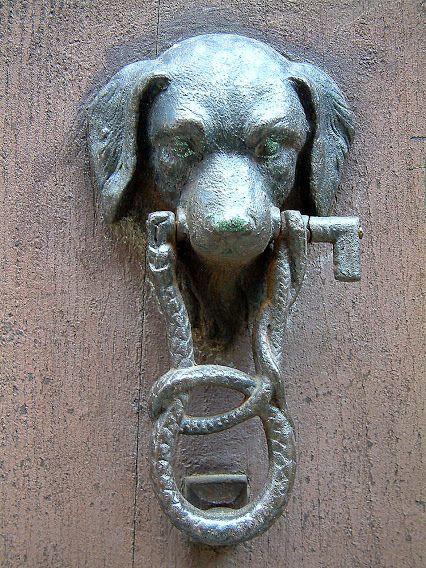
|
Lamp or votives
|
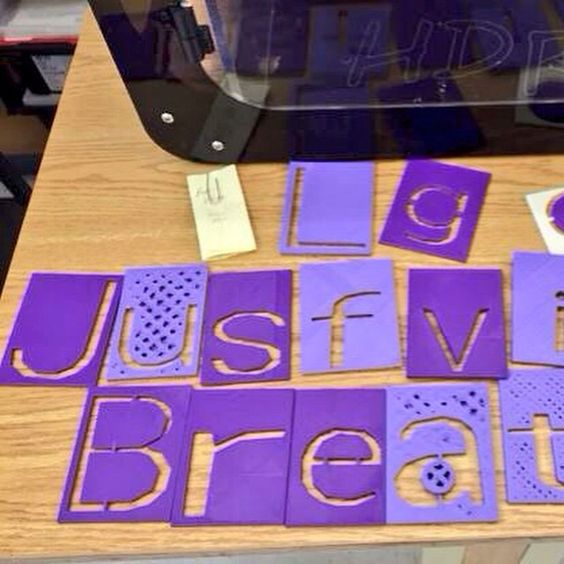
School Applications
Kinder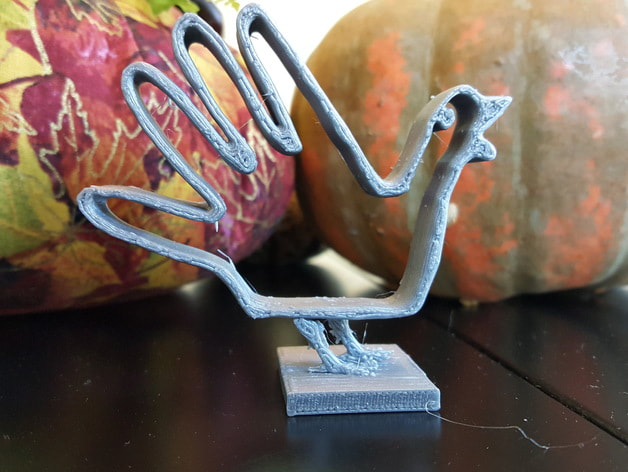
|
1st grade
|
2nd grade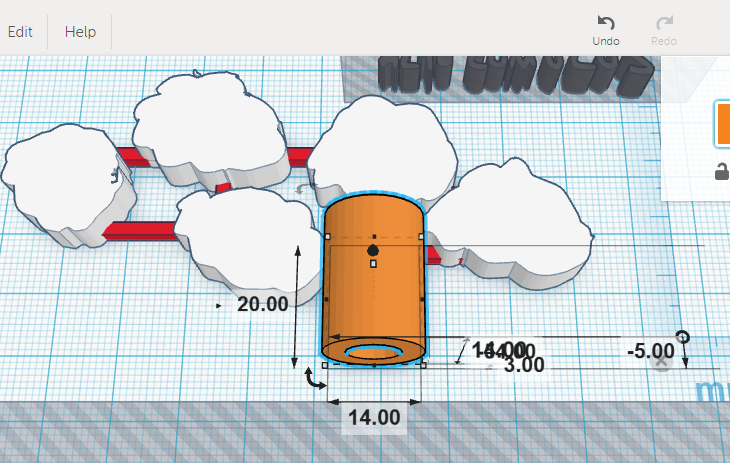
|
3rd grade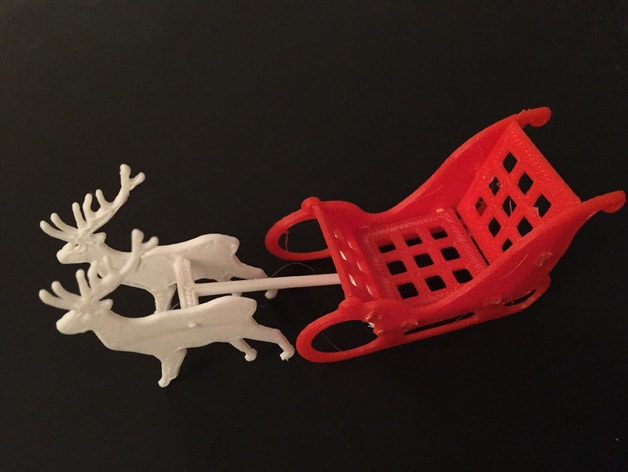
|
4th grade
|
5th grade |
6th grade |
7th grade |
8th Grade |
9th Grade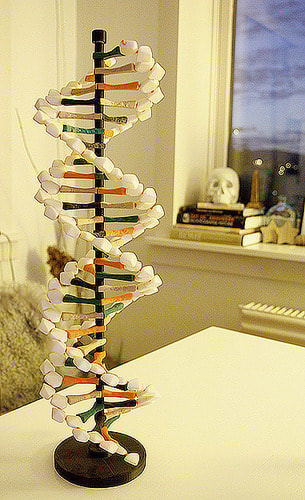
|
10th Grade |
11th Grade |
12th Grade |
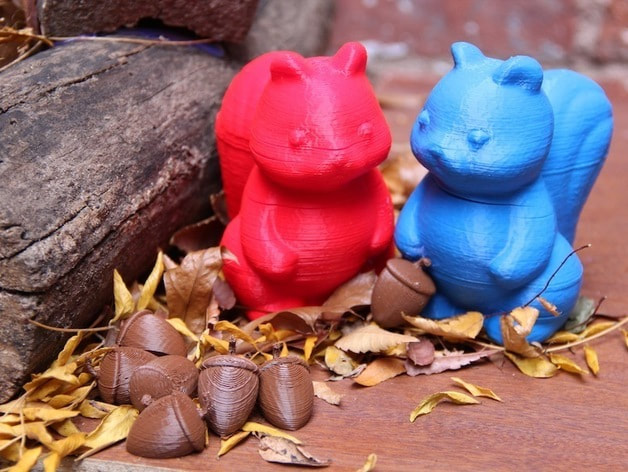
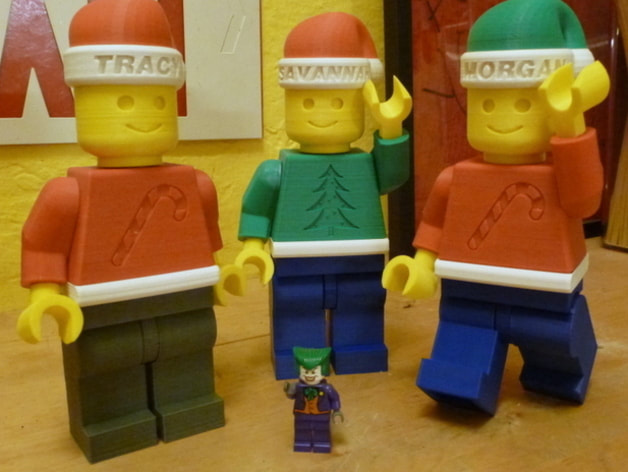
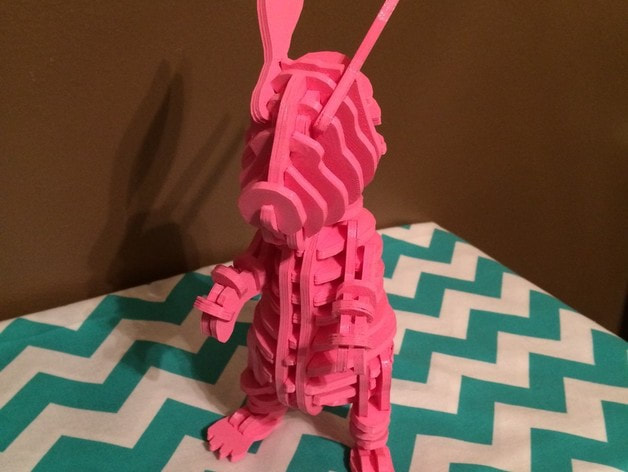
Toys
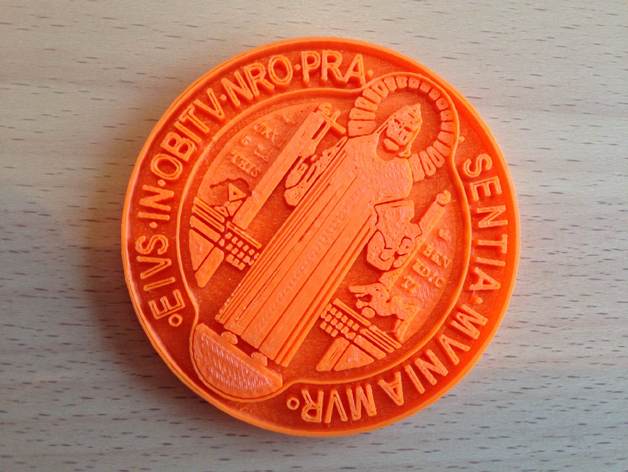
Fiesta Medals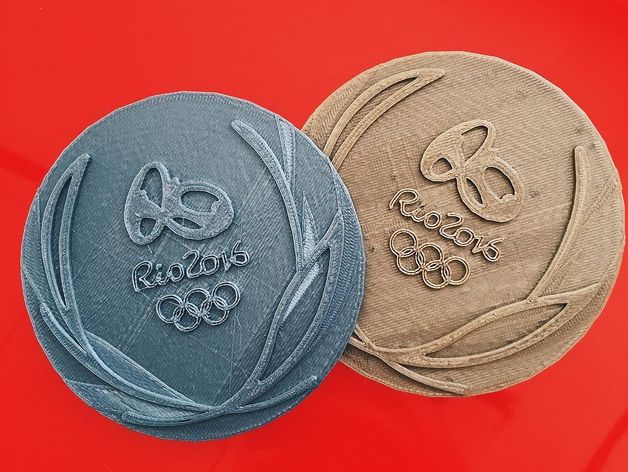
|
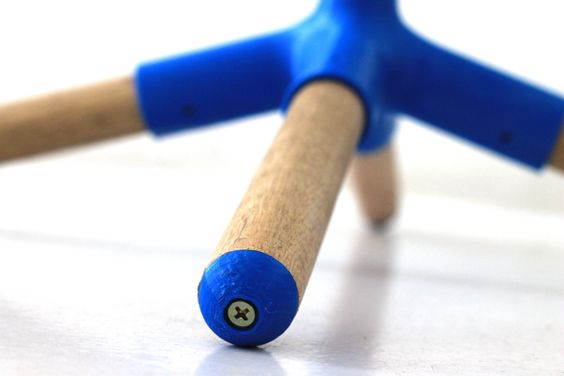
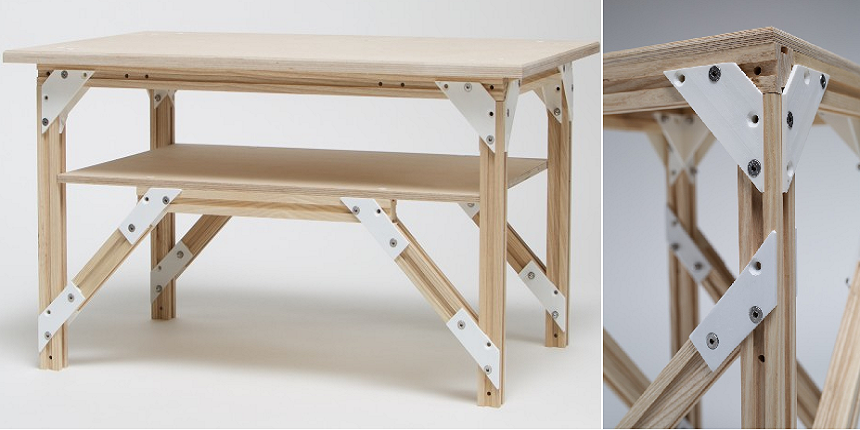
Furniture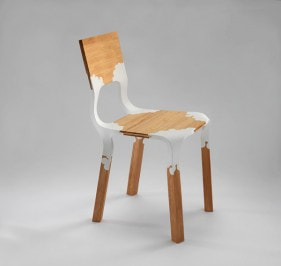
|
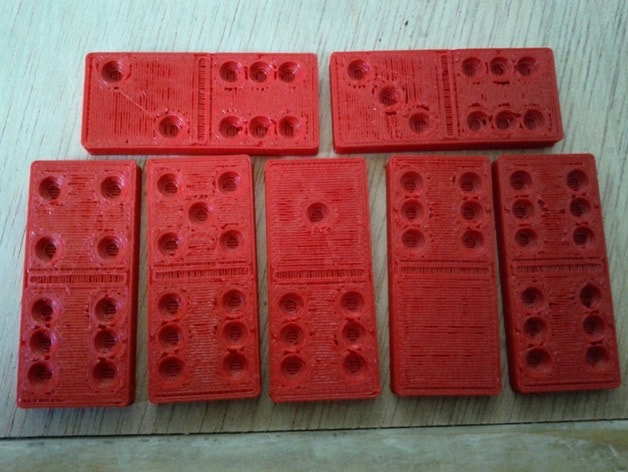
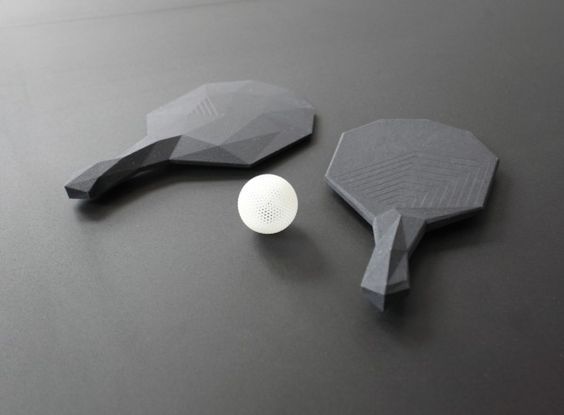
Games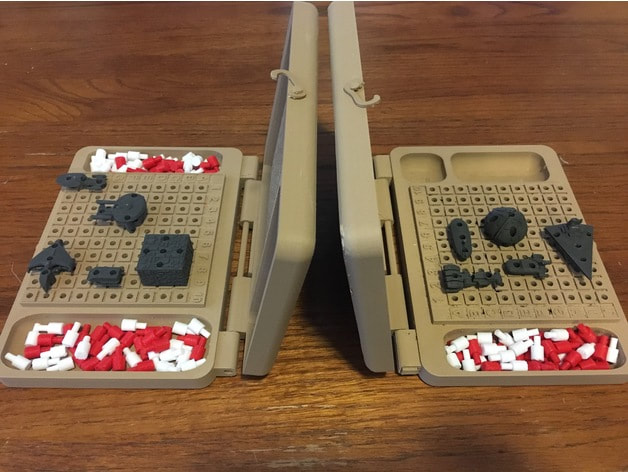
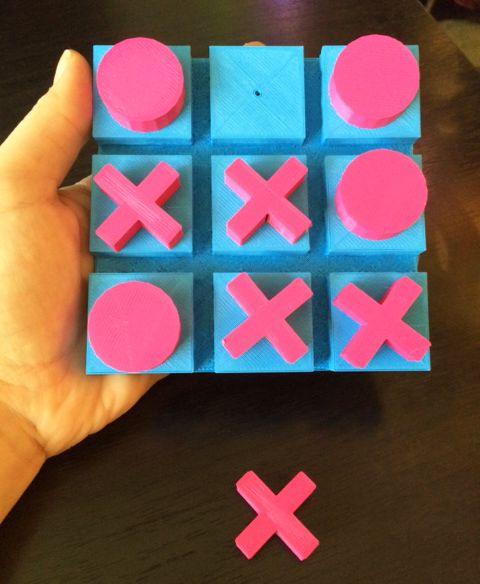

|
Game Pieces
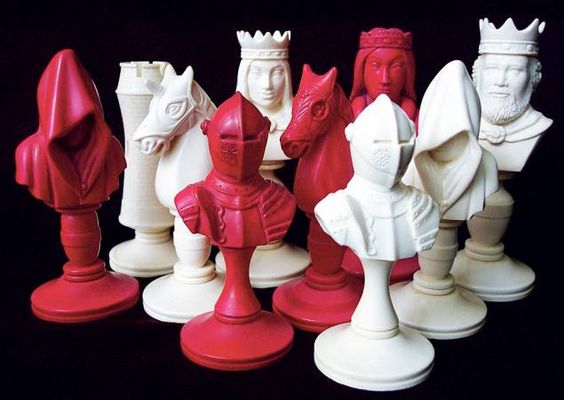
|
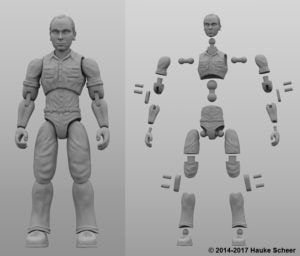
Action Figures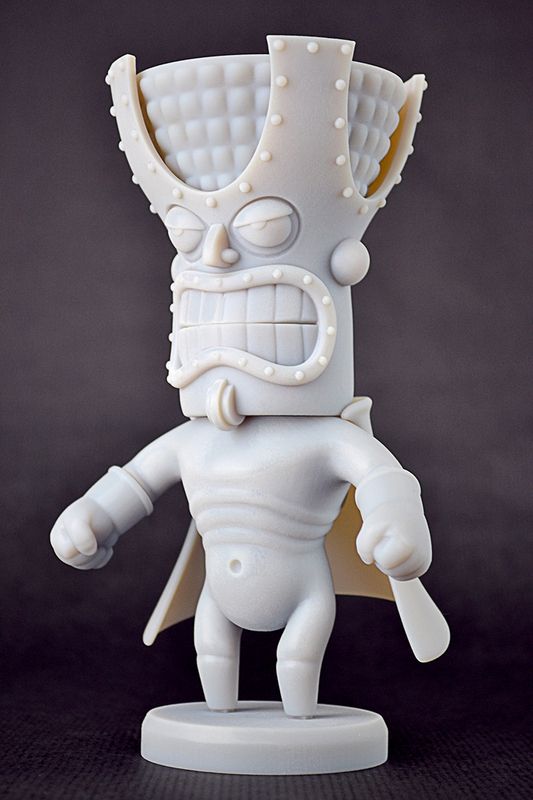
|
Puzzles
|
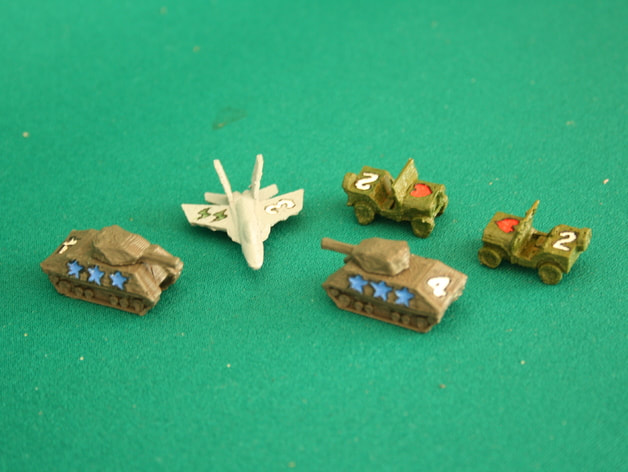
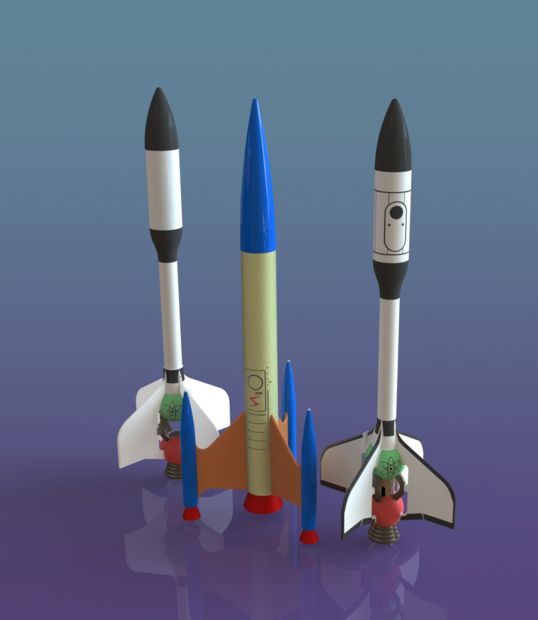
Transportration
Cars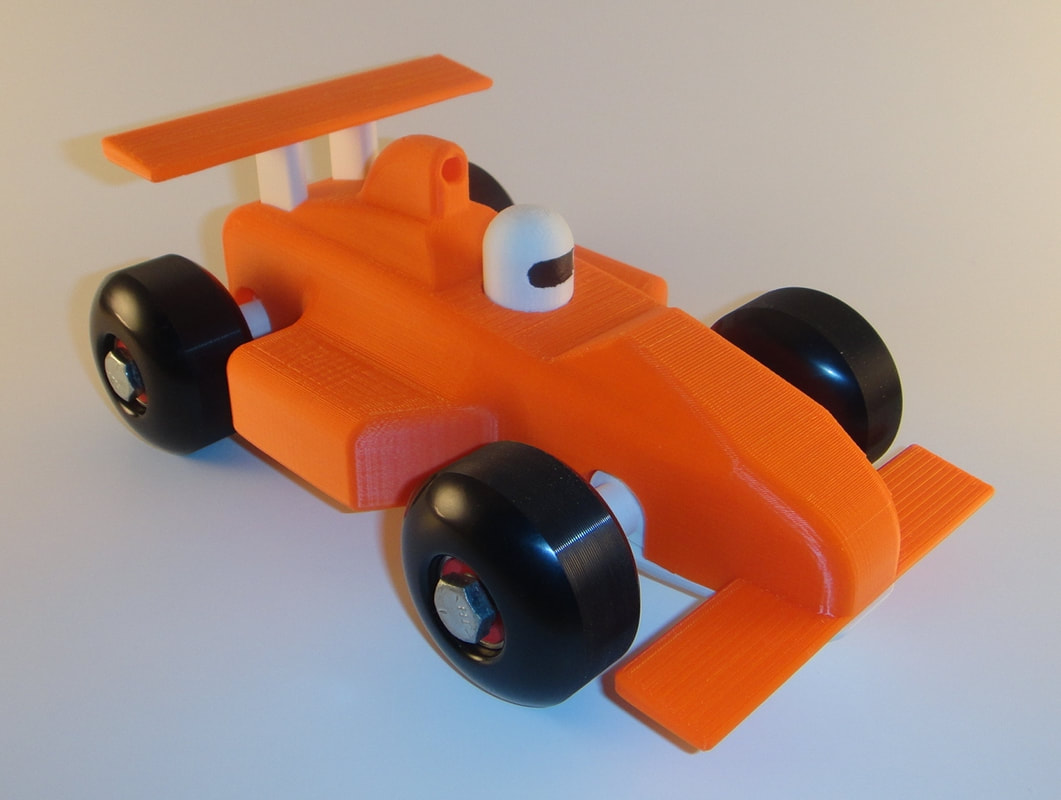
|
Spaceships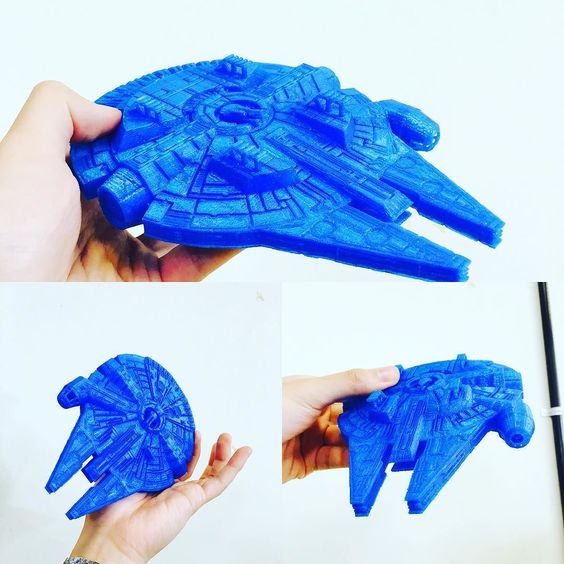
|
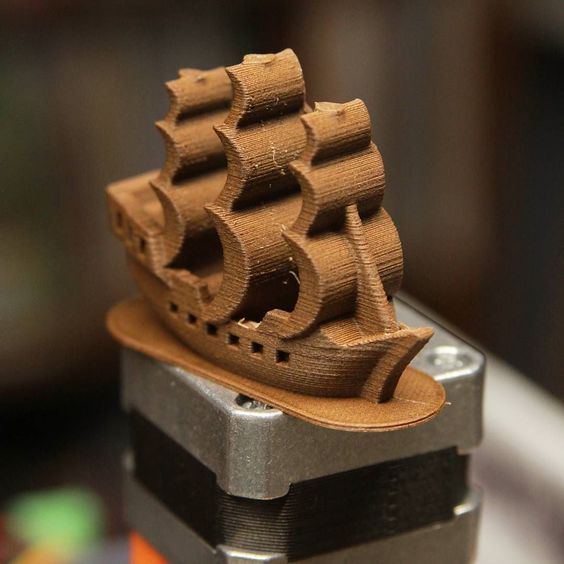
BoatS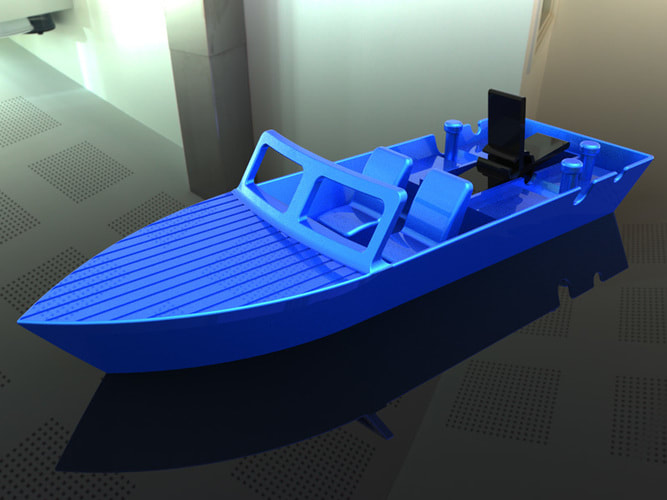
|
Planes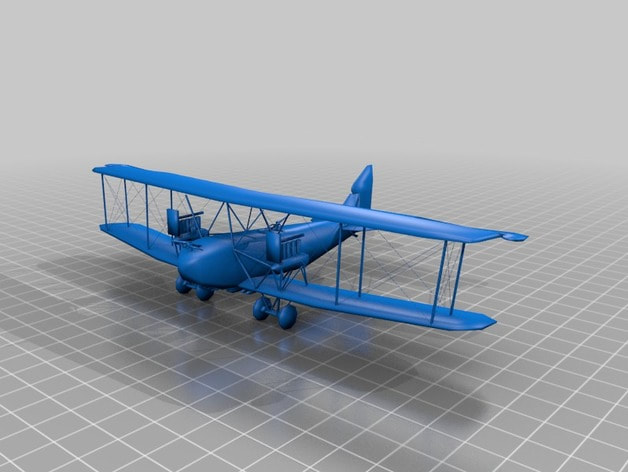
|
Drones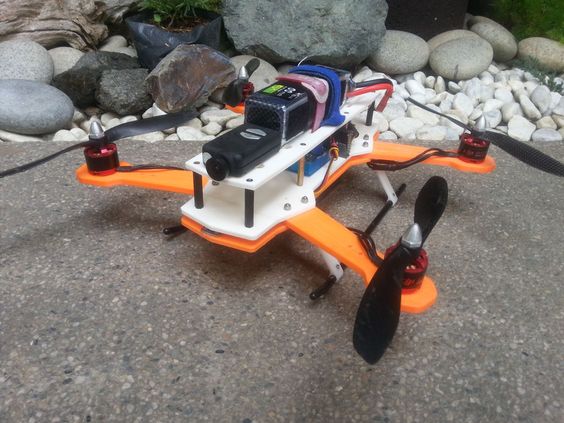
|
Trains
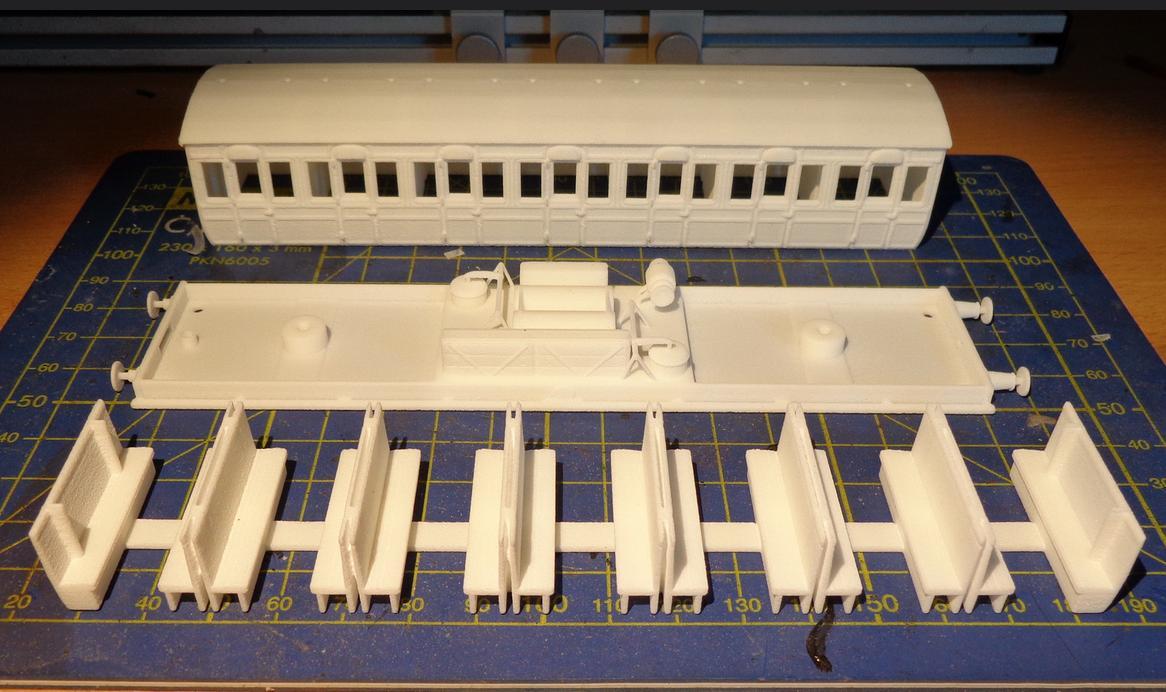
|
Painting 3D Prints
Getting Started
3D printing for Casting in Silicone
Glossary for 3D Printing
X3G – a file format read by 3D printers to print design files.
3D – three-dimensional.
3D Printer – an additive manufacturing machine that creates three-dimensional objects by following instructions given through a three-dimensional, digital, design file.
ABS – (acrylonitrile butadiene styrene) a thermoplastic filament derived from natural gas and petroleum that is tough and impact resistant.
Additive Manufacturing – a manufacturing process for creating objects, achieved by adding one layer of material at a time until enough layers have been stacked and fused, to complete a three-dimensional design.
Build Plate – See Print Bed.
Print Bed – the surface where the 3D manufacturing process takes place.
CAD – (computer-aided design) three-dimensional design created with the aid of a computer. It is from computer-aided design files that instructions for 3D printers are created.
Calibration – alignment of one part relative to another, such as the parallel alignment that would be found between the print bed and extrusion nozzle of a 3D printer.
cc/hr – (cubic centimeter per hour) See flow rate.
Curling – an upward contraction of extruded filament from the bottom outer edges of a print inward due to factors such as uneven heating and cooling.
Dual Extruder – an extruder with two nozzles that allows for printing with multiple colors, textures, and resolutions. Dual extruders also allow for simultaneous printing.
Extruder – the printing component of a 3D printer through which filament is heated, passed, and lain.
Extrusion – the process of passing the heated filament through the extruder (typically onto a print bed).
FDM – (fused deposition modeling) an additive manufacturing process that utilizes extrusion of filament to create three-dimensional objects by extruding a stream of filament that “traces” the shape of a design until a single layer is complete. Then, subsequent layers are added in the same way, each layer fusing with the previous, until all of the designated layers have been lain and the design is complete.
FFF – (fused filament fabrication) See FDM.
Filament – a thread of material fed into a 3D printer and extruded for fabrication.
Flow Rate – rate at which filament flows through the extruder (usually onto the print bed), defined as volume per time.
HIPS – (high-impact polystyrene) a thermoplastic filament that is soluble in limonene and sometimes used as a support material.
Hot End – the end of the extruder that heats up to melt the filament that will be extruded from the nozzle.
Iteration – the repetition of a process; used in reference to a generation, version, or edition of a 3D printer model.
Layer Height – the height, usually measured in microns, of a single extruded layer of filament.
Leveling – See calibration.
Lifting – See curling.
Micron – unit of measurement equivalent to a micrometer, often used to describe printing resolution, accuracy, and precision.
Nozzle – the part of the extruder containing the orifice through which heated filament exits.
Nozzle Diameter – refers to the size of the orifice on the nozzle.
Orifice – the opening in the nozzle of the extruder.
PLA – (polylactic acid) thermoplastic polyester filament made from plant based materials.
Platform – See print bed.
Positioning Precision – refers to how precisely the nozzle moves to each designated point in a print.
Print – command to begin the modeling process; a completed model.
Printing – the physical process of creating a three-dimensional object through fused filament fabrication.
Print Envelope – the total space in which 3D printing can take place, usually expressed in terms of the x, y, and z axes.
Prototype – a draft model used to present or test a design.
PVA – (polyvinyl acetate) a rubbery, water-soluble, thermoplastic filament used as a support material.
Rapid Prototyping – quickly fabricating a scale model using computer-aided design and 3D printing.
RepRap – (replicating rapid prototyper), a 3D printer that can print most or all of its own components.
RepRap Project – an initiative to develop 3D printers that can print most or all of their own components.
Resolution – See layer thickness.
Slicing – dividing a 3D design into layers in order to create instructions a 3D printer can follow to create an object.
STL – (stereolithography) file format in which computer-aided designs are stored.
Stepper Motor – a motor with a gear-shaped rotor that allows for very precise movement and the ability to be stopped at very precise points without creating backlash.
Viscosity – liquid filament’s resistance to movement by force, due to friction among adjacent particles.
Warping – distortion of extruded filament due to factors such as uneven heating and cooling. See curling.
WPC – (wood polymer composite) a filament made from wood particles and binding polymers.
X-Axis – axis that allows for movement from left to right and right to left.
XY Plane – the horizontal plane of the x and y axes.
Y-Axis – axis that allows for movement from front to back and back to front.
