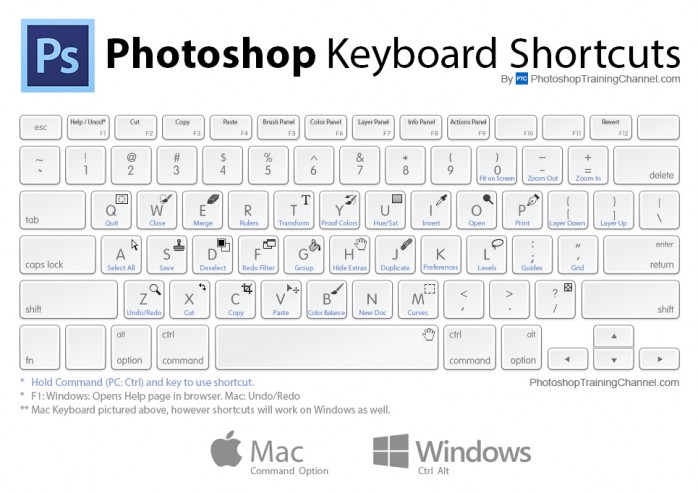
Adobe Photoshop
|
There are several quick ways to do things in Adobe Photoshop. Use the image to the left as your guide to help you navigate through short cuts through the program.
|
You suck at Photoshop Tutorials Series (PG 13 - Some Language)
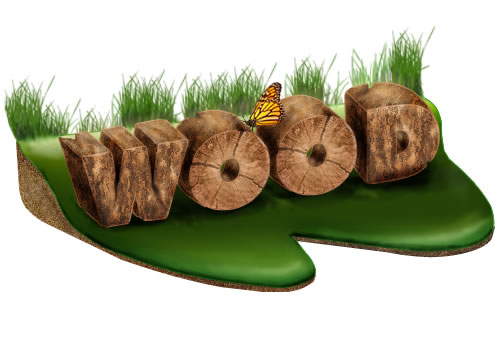
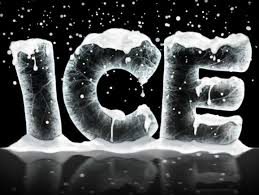
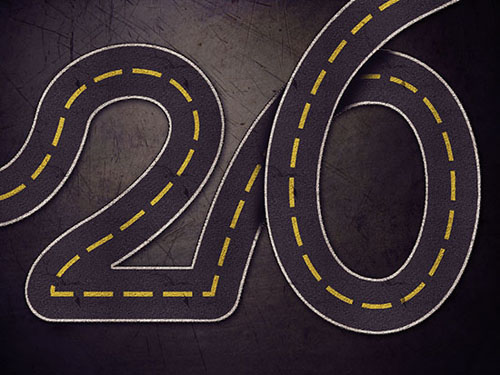
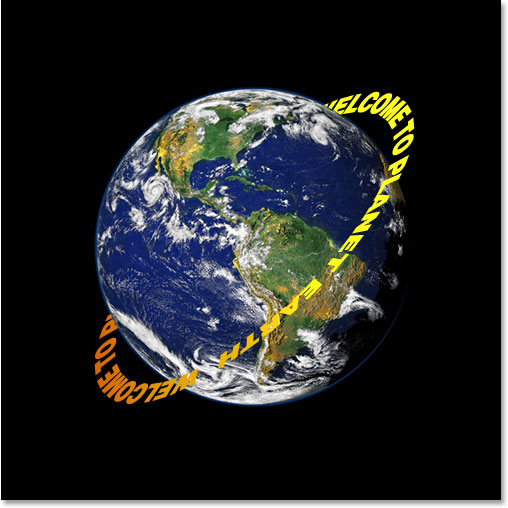
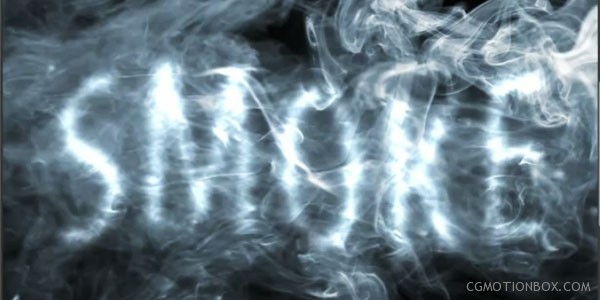
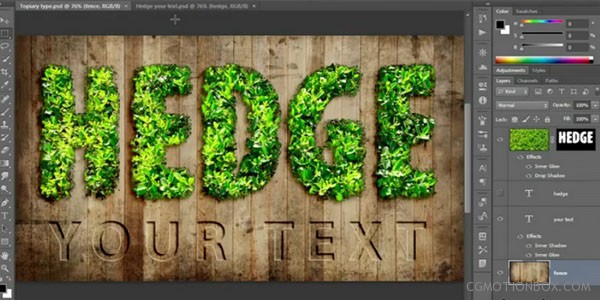
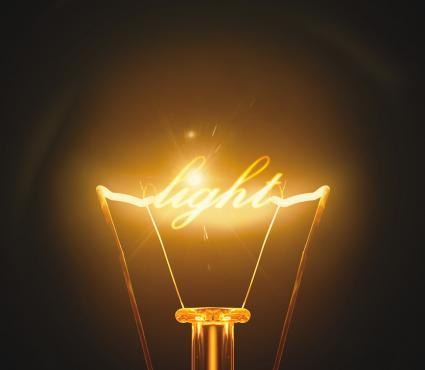
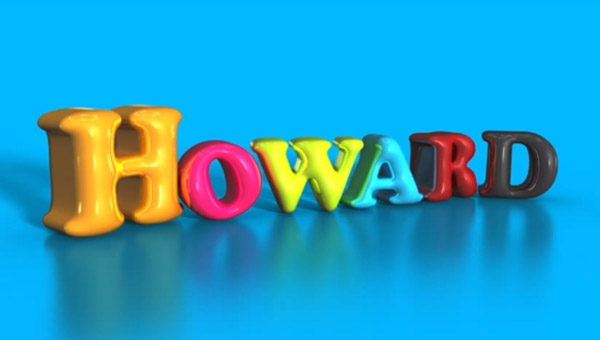
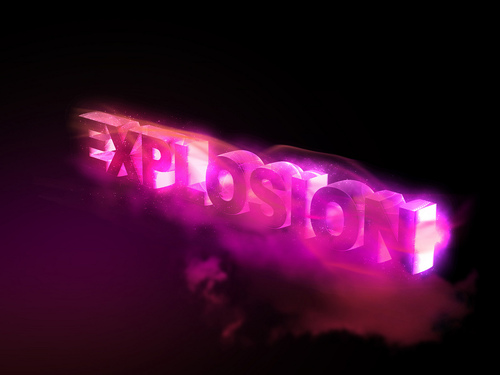
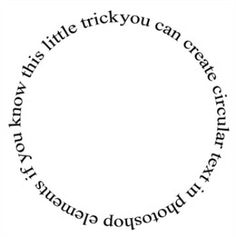
Manipulating Text Tutorials


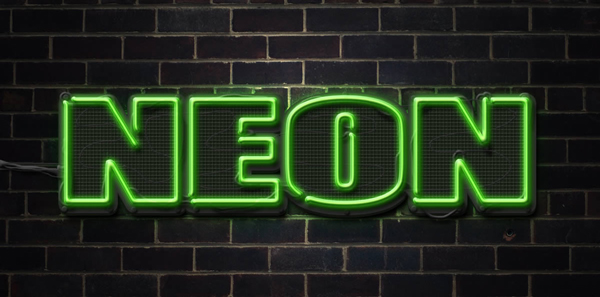


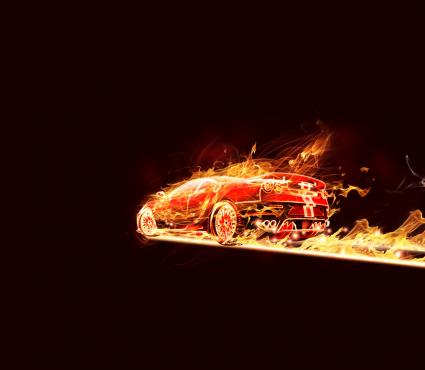
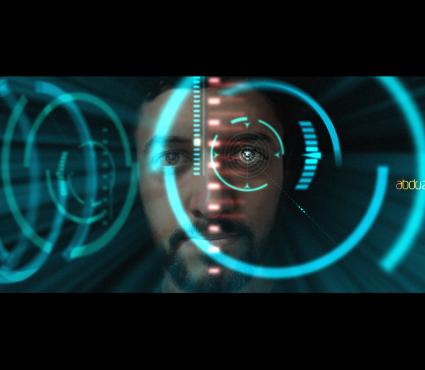
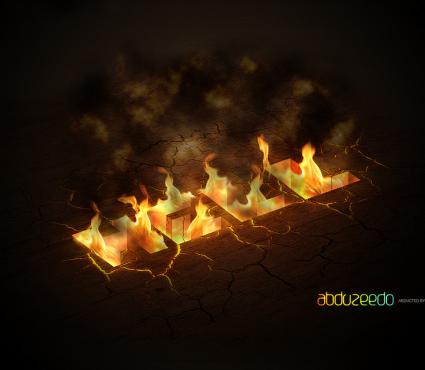
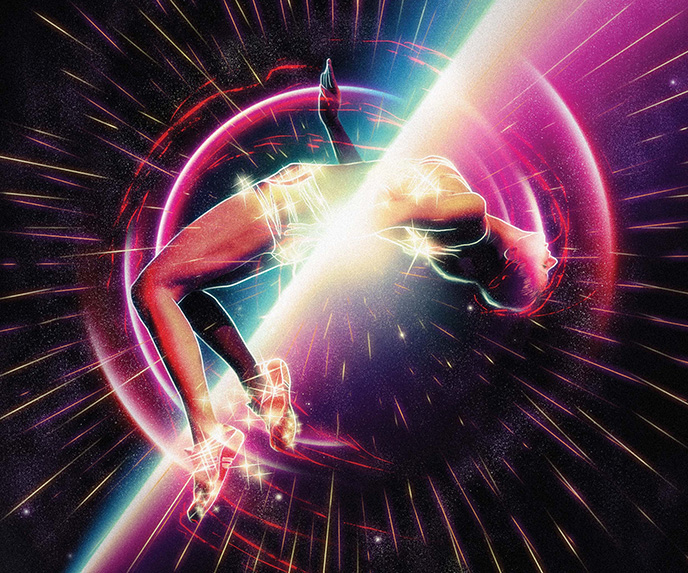
Neon Tron

|


|


|


|


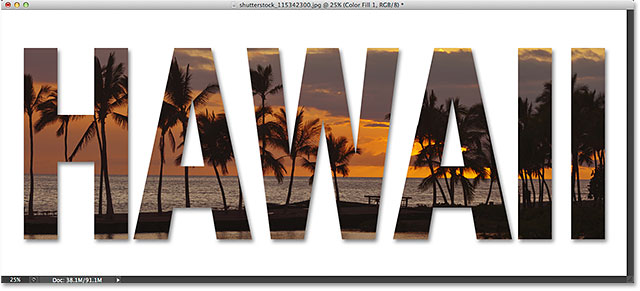
Clipping Mask
|
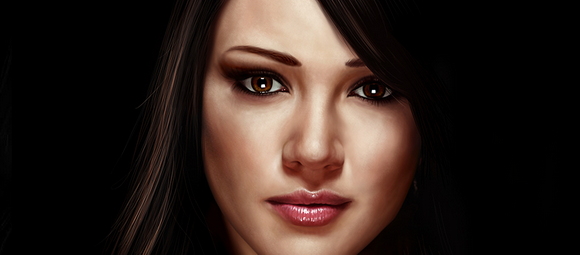
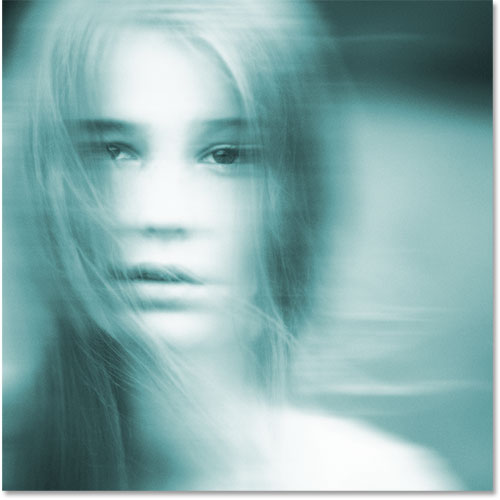
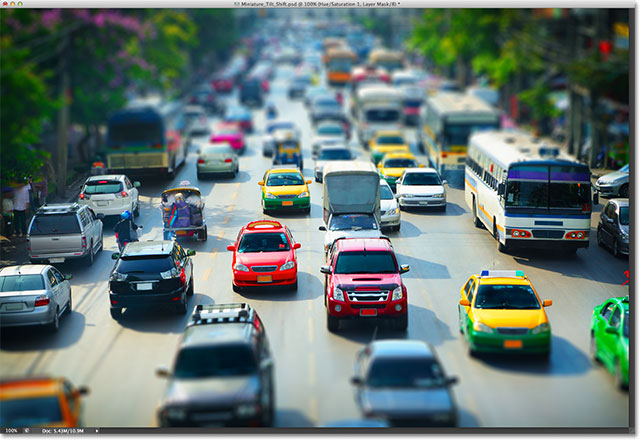
Manipulating Photographs


|


Extracting almost anything


blend mode tutorials


|


|


|


|
GIF Creation
Brushes
Random Tutorials

|
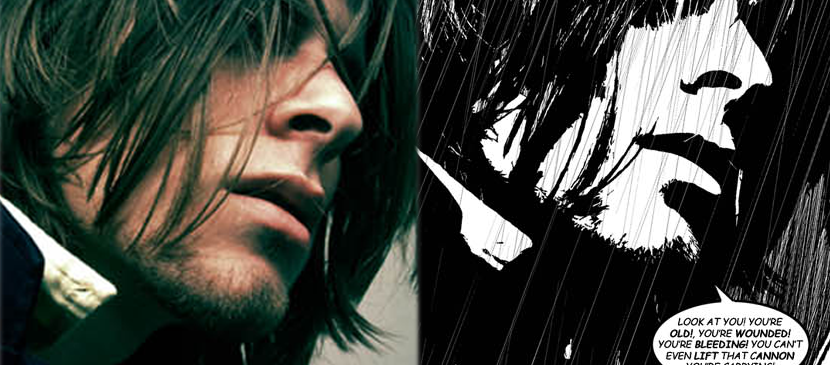
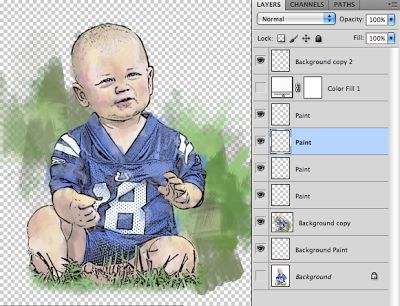
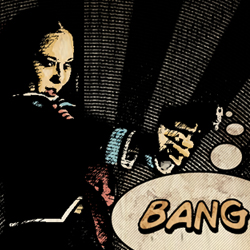
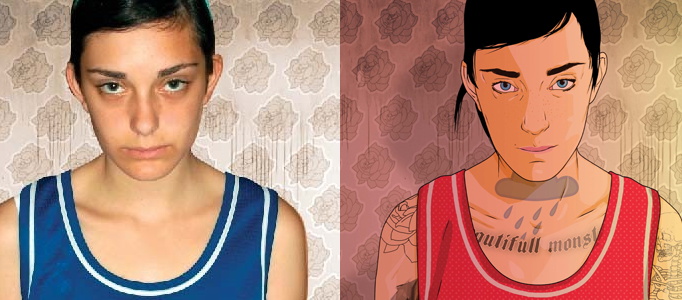
Cartoon Effect one and two
|

Cariacature
Banksy tutorial
Multi-layer Stencil
|
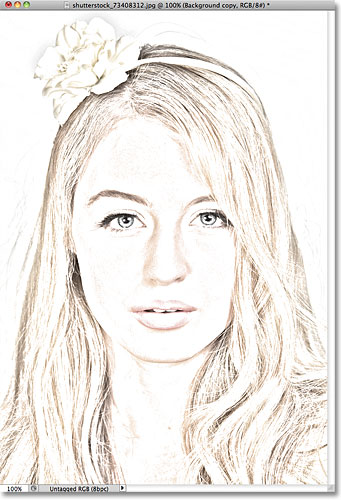
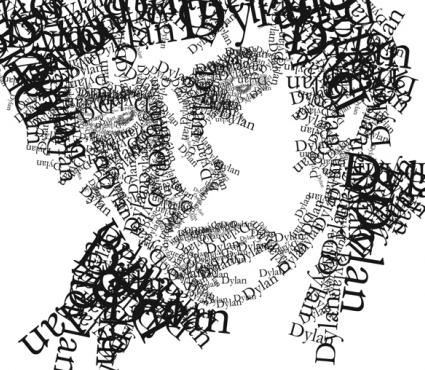
Text portrait
Poster of text
Shepard Fairey Hope Tutorial
|
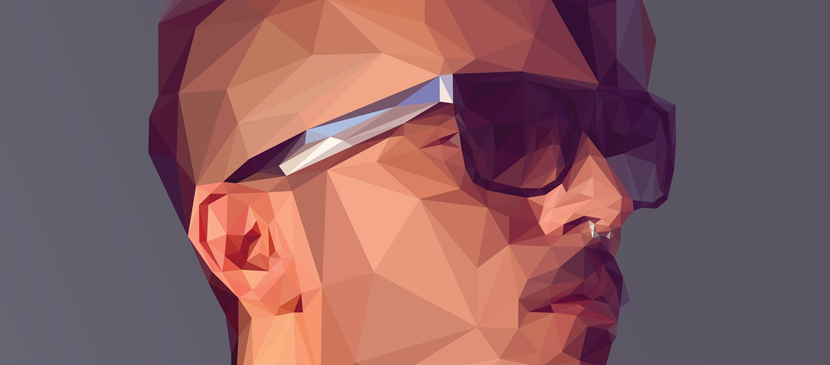
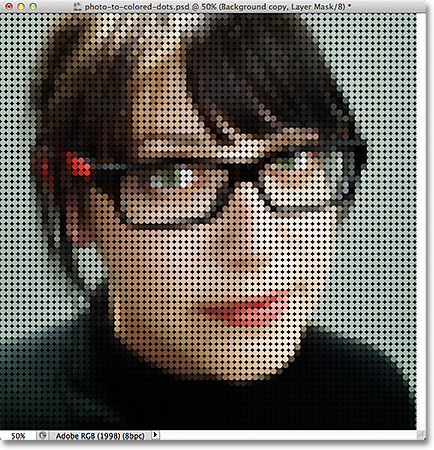
Low Poly Portait
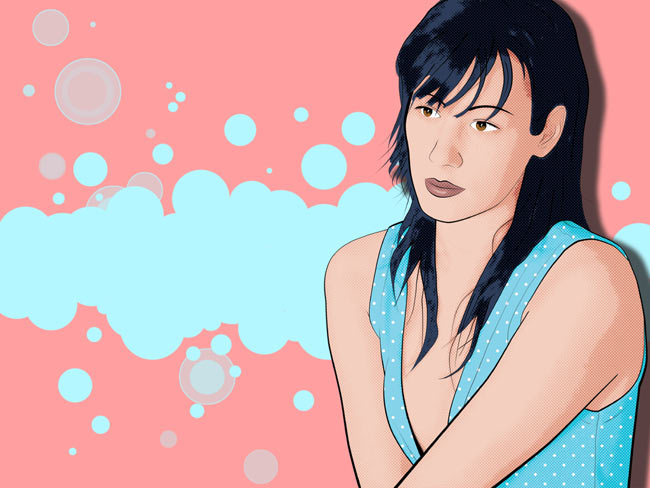
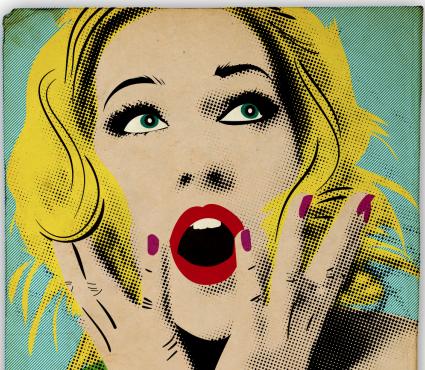
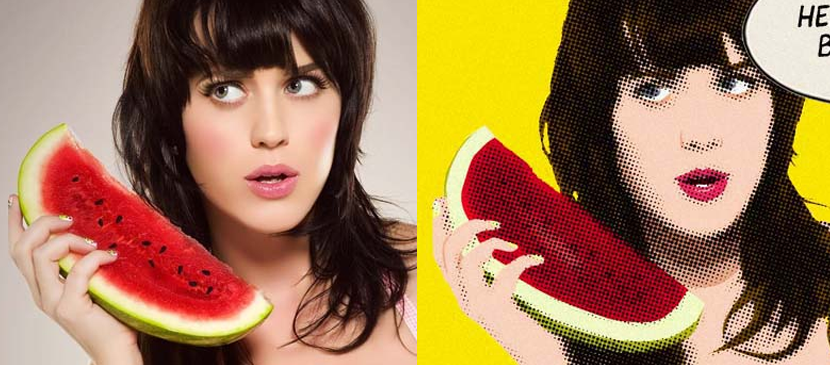
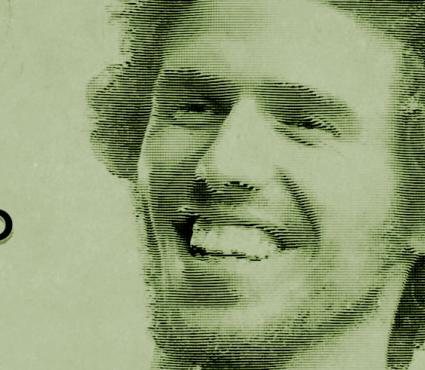
Andy Warhol Pop Art
Roy Liechtenstein
|
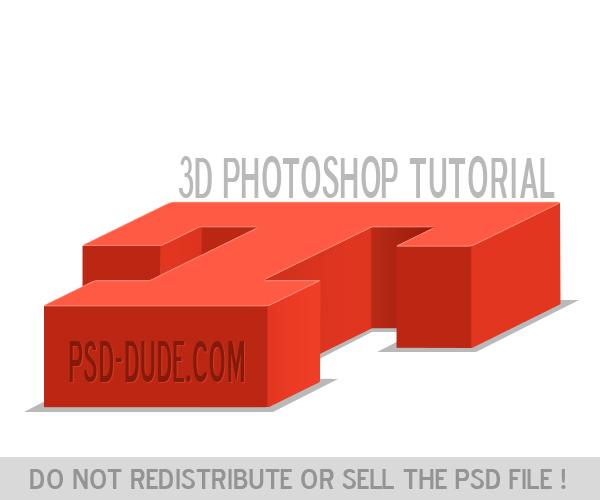
3D Printing from Photoshop CS6
Best websites for Photoshop Tutorials (besides this one).
Learn Photoshop
Acquiring Digital Images
Sizing Digital Images
What's new in Photoshop CC?
Photoshop Basics
Essential Tasks and concepts
Photoshop Workspace
Adobe Bridge
Camera Raw
Layers
Layers Mask
Compositing Layers
Blending Modes
Image Adjustment
Color Corrections and Enhancements
Selecting parts of an Image
Cropping and Transforming
Retouching
Painting, Drawing and type
Filters
Printing and sharing photos
Advanced Topics
Automating Photoshop CC
Editing video in Photoshop
Working with 3D
Webinars
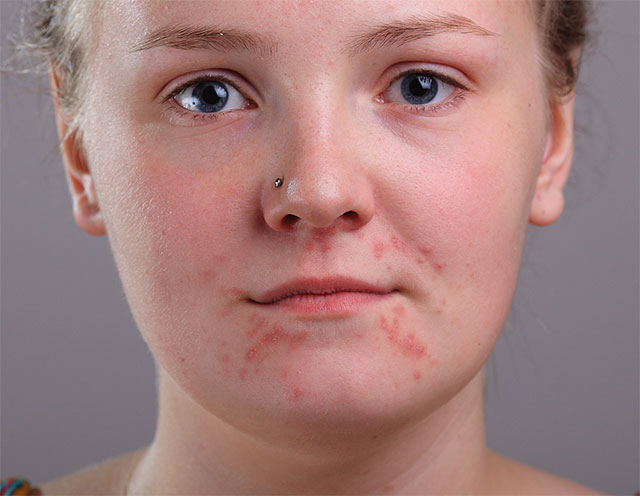
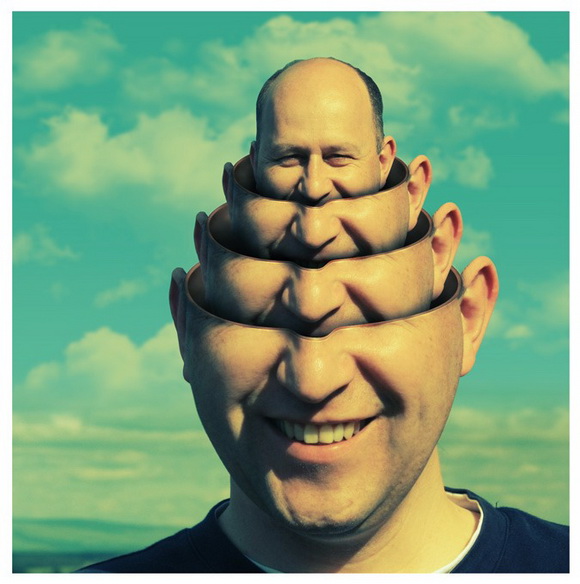
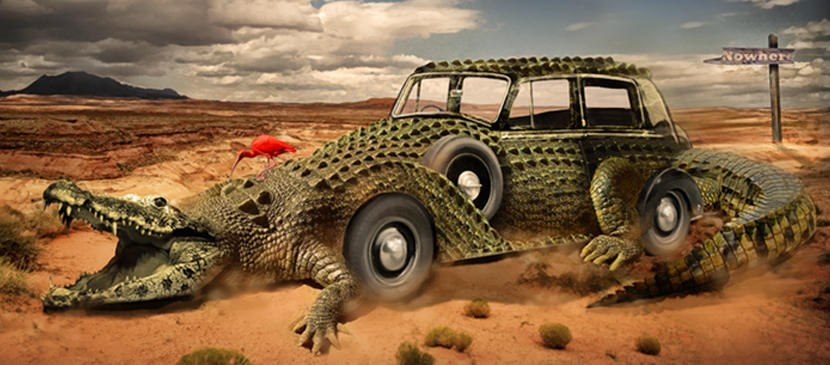
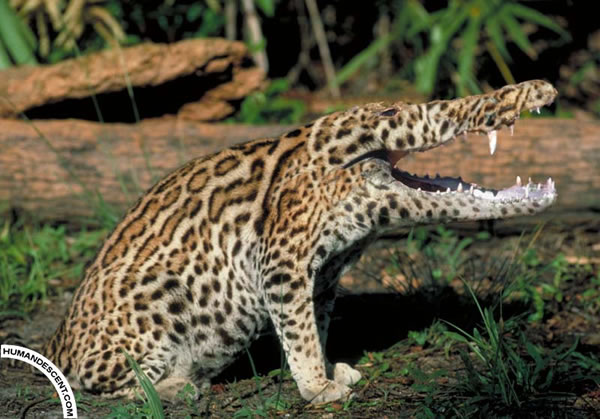
Objective: To practice the skills from CIB vs. 7, Lessons 4 and 5 Skills: Selections: marquee, lasso, wand, combining selections, anti alias, transformation, moving, and cropping. Layers: rearranging layers, copy paste layers, adding text layer, naming layers, layer sets, combining layers. Concepts: Using crosslinks to create a preposterous hybrid. Example: What would you get if you crossed a cat with a tomato? Answer? Catoe. What would this imaginary thing look like? Design: Have point of emphasis and image dominant to background or surroundings. Resources: Photoshop Samples folder, digital camera, images provided by instructor. or internet (http://library.austincc.edu/w3/VCD/color.htm - Archive). Planning: Make up a list of some possible crosslinks. Visualize possible result. Look through samples file or other resources to gather some images that you believe could be used. Complete 2–4 thumbnails of ideas. Get checked off. Document: Set up a Photoshop document 5" x 7" (12.7 x 17.7 cm) or 7" x 5" (17.7 x 12.7 cm) with a resolution of 72 dpi, RGB. Save your image with "your name Integrate 1" into your own work folder. Selections will be made from multiple images and put into this file. Canvas size can be enlarged or cropped to meet the needs of the image. Description: Students will create a hybrid image using a wide variety of selection tools and layer management skills. Write down the steps of activities completed. - See more at: http://www.incredibleart.org/lessons/high/Donna-PS.htm#sthash.24Edvu3E.dpuf
Activities/Skills/Followed Directions:
Set up document at stated size and resolution.
Used each of the following selection tools at least once.
Lasso, Wand, and Marquee
Used transform tool to change at least one selection/layer.
Used move tool to move selections from one document to another.
Included a text layer. (Name of imaginary character/image.)
Named and grouped layers. (Instructor initials here for check off)
Quality:
Met requirements for concept: Hybrid with point of emphasis, dominance.
Made clean selections. (Feathering as necessary.)
Adjusted size of image as necessary. (Larger or cropped canvas.)
Sub-Total:
Hand in Materials: (Project cannot be evaluated without turning in the following.)
Written documentation. Word-processed preferred.
Thumbnails checked off by instructor.
Project printed black/white laser with this grade sheet. (Or instructor check)
Subtracted points for turning in late work and missed presentation. (-10%)
Added points for creativity and extra effort.
- See more at: http://www.incredibleart.org/lessons/high/Donna-PS.htm#sthash.24Edvu3E.dpuf
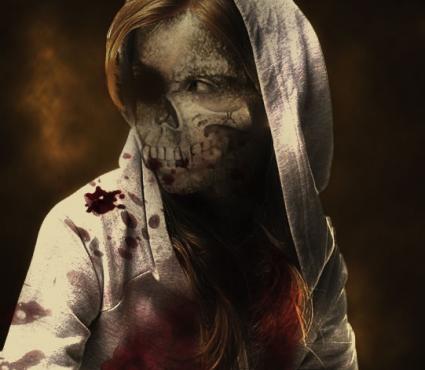
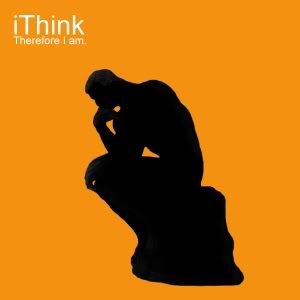
Objective: To practice the skills from CIB vs. 7, Lessons 6 and 9 Skills: Masks: quick masks, saving & loading selections, extraction. Pen: drawing paths, editing points, saving paths, converting to selections. Concepts: Create a visual pun from words that have a double meaning. Design: Have point of emphasis and image dominant to background or surroundings. Resources: Photoshop Samples folder, digital camera images, internet: (http://library.austincc.edu/w3/VCD/color.htm - Archive) or images provided by instructor. Planning: Make up a list of some possible puns such as: strong box, watch dog, coat of arms, six feet underground, shoe tree, navel orange, light house. Visualize an image from these words. (A box with muscles, a watch in shape of dog head, etc.) Look through samples file or gather other potential images. Complete 2 thumbnails of ideas. Get checked off by instructor. Document: Set up a Photoshop document 5" x 7" (12.7 x 17.7 cm) or 7" x 5" (17.7 x 12.7 cm) with a resolution of 72 dpi, RGB. Save your image with "your name Integrate 2" into your own work folder. Selections will be made from multiple images and put into this file. Canvas size can be enlarged or cropped to meet the needs of the image. Description: Students will create visual representation of selected pun or words that sound alike. Masks and the pen tool skills are to be incorporated in the process. Write down steps describing tools and techniques used. - See more at: http://www.incredibleart.org/lessons/high/Donna-PS.htm#sthash.24Edvu3E.dpuf
Objective:
To practice the skills from CIB vs. 7, Lessons 8 and 12
Skills:
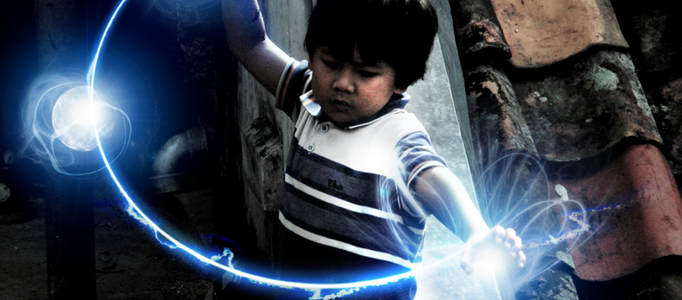
Brushes: Vary sizes, styles, fade and opacity other options. History and Art History
Brushes: Paint modifiers: Smudge, dodge, burn, saturate, brush blending options. Layer blending modes. Filters and Gradient blend.
Concepts:
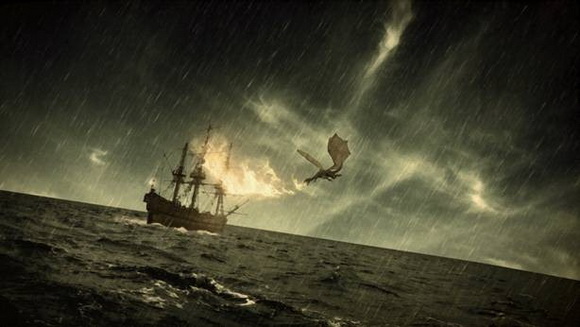
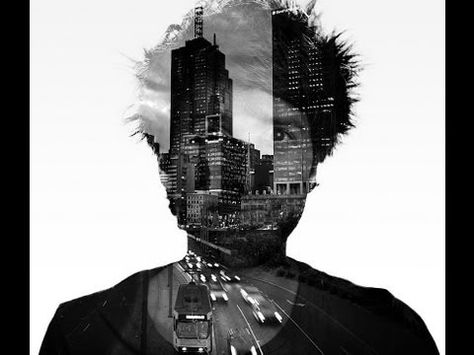
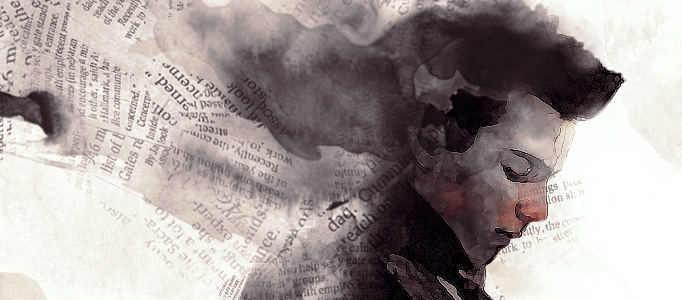
Create a collage of images that tells a visual story around a central theme such as "Aging", "Childhood Memories", "My Favorite Pastime(s)" and "Wealth." Design: Integrate and blend images (vary transparency), have a focal point, and create rhythm by repeating elements, color and shape.
Resources:
Your own art/photo/things scanned, digital camera or internet resources. (http://library.austincc.edu/w3/VCD/color.htm - Archive) Minimum 3.
Planning:
Look through image resources and collect potential images (Photos or art). Scan images as close to finished size as possible. Minimize resampling. Provide 2–4 thumbnails to instructor. Get checked off by instructor.
Document:
Set up a Photoshop document 6.5" x 9" (16.5 x 22.9 cm) horizontal or vertical at 72 dpi resolution + RGB. Save your image with "your name Integrate 3" into your own work folder. Selections will be made from multiple images (minimum 3) and put into this file. Canvas size must remain 6.5" x 9" (16.5 x 22.9 cm) for this exercise.
Description:
Students will create a representation of a visual allegory using a collage technique as means to compose and blend images together. Write down the steps of activities completed. Past skills and recently acquired skills will be used in this exercise.
- See more at: http://www.incredibleart.org/lessons/high/Donna-PS.htm#sthash.24Edvu3E.dpuf
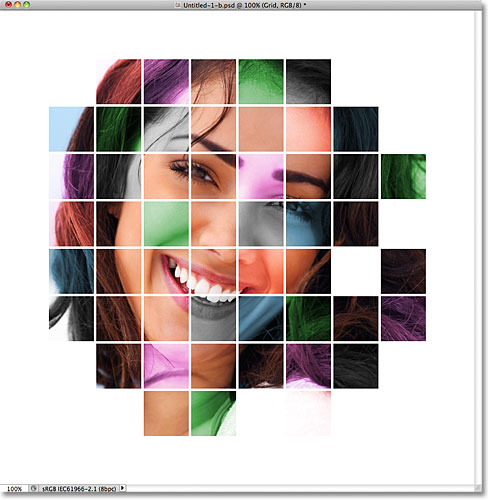
Using Layer Masks, Clipping Groups, Shapes, and Adjustment Layers
Objective:
To practice the skills from CIB vs. 5.5 Lesson 8; vs. 7 Lessons 10 and 11
Skills:
Layer Masks, Layer clipping groups, Paths, Adjustment Layers.
Concepts:
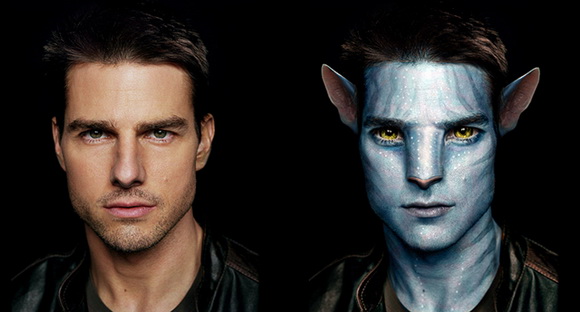
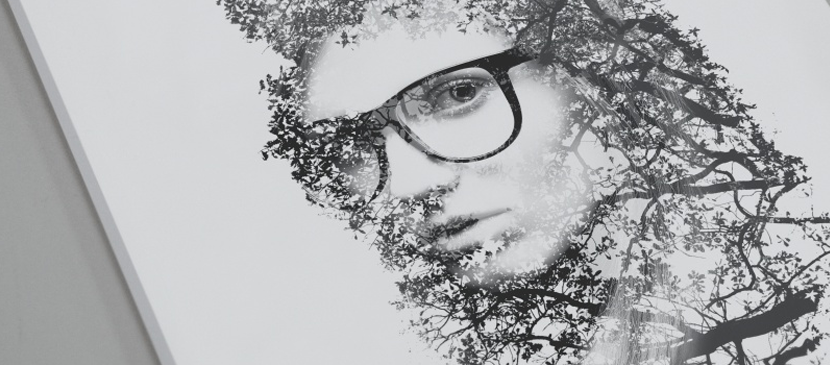
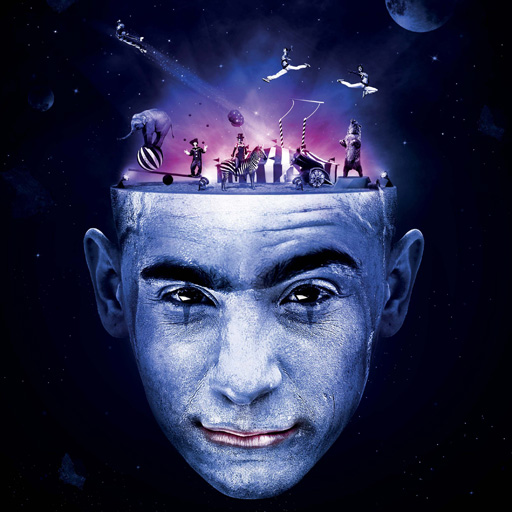
Create surreal portraits or objects by combining other images inside a shape/outline that represents its’ inner workings. Design: Integrate and blend images (vary transparency), have a focal point, and show awareness of positive and negative space.
Resources:
Your own art/photo/things scanned, digital camera or internet resources. (http://library.austincc.edu/w3/VCD/color.htm - Archive) Minimum 3.
Planning:
Look through image resources and collect potential images (Photos or art). Scan images as close to finished size as possible. Minimize sampling. Provide 2–4 thumbnails to instructor. Get checked off by instructor.
Document:
Set up a Photoshop document 6.5" x 9" (16.5 x 22.9 cm) horizontal format with a resolution of 72 dpi, RGB. Save your image with "your name Integrate 4" into your own work folder. Selections will be made from multiple images (minimum 3) and put into this file. Canvas size must remain 6.5" x 9" (16.5 x 22.9 cm) for this exercise.
Description:
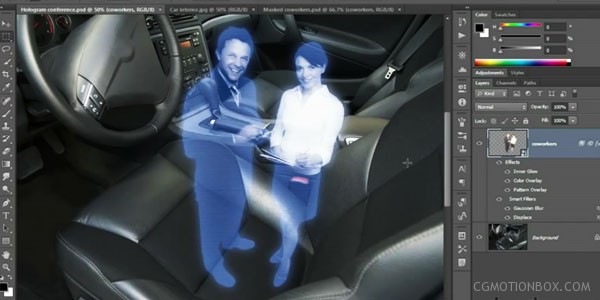
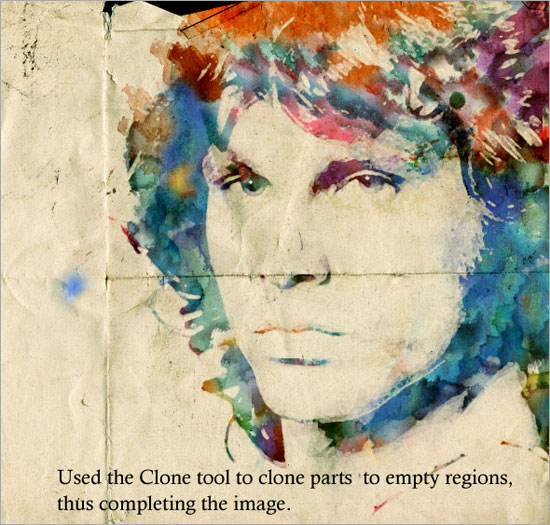
Students will create surreal portraits or objects by blending and clipping other images into silhouettes or other shapes. Add special effects and vary transparency to integrate images. Write down the steps of activities completed. Past skills and newly acquired skills will be used for this exercise.
- See more at: http://www.incredibleart.org/lessons/high/Donna-PS.htm#sthash.24Edvu3E.dpuf
Activities/Skills/Followed Directions:
Set up document at stated size and resolution.
Used each of the following selection tools at least once.
Lasso, Wand, and Marquee
Used transform tool to change at least one selection/layer.
Used move tool to move selections from one document to another.
Included a text layer. (Name of imaginary character/image.)
Named and grouped layers. (Instructor initials here for check off)
Quality:
Met requirements for concept: Hybrid with point of emphasis, dominance.
Made clean selections. (Feathering as necessary.)
Adjusted size of image as necessary. (Larger or cropped canvas.)
Sub-Total:
Hand in Materials: (Project cannot be evaluated without turning in the following.)
Written documentation. Word-processed preferred.
Thumbnails checked off by instructor.
Project printed black/white laser with this grade sheet. (Or instructor check)
Subtracted points for turning in late work and missed presentation. (-10%)
Added points for creativity and extra effort.
- See more at: http://www.incredibleart.org/lessons/high/Donna-PS.htm#sthash.24Edvu3E.dpuf
Objective: To practice the skills from CIB vs. 7, Lessons 6 and 9 Skills: Masks: quick masks, saving & loading selections, extraction. Pen: drawing paths, editing points, saving paths, converting to selections. Concepts: Create a visual pun from words that have a double meaning. Design: Have point of emphasis and image dominant to background or surroundings. Resources: Photoshop Samples folder, digital camera images, internet: (http://library.austincc.edu/w3/VCD/color.htm - Archive) or images provided by instructor. Planning: Make up a list of some possible puns such as: strong box, watch dog, coat of arms, six feet underground, shoe tree, navel orange, light house. Visualize an image from these words. (A box with muscles, a watch in shape of dog head, etc.) Look through samples file or gather other potential images. Complete 2 thumbnails of ideas. Get checked off by instructor. Document: Set up a Photoshop document 5" x 7" (12.7 x 17.7 cm) or 7" x 5" (17.7 x 12.7 cm) with a resolution of 72 dpi, RGB. Save your image with "your name Integrate 2" into your own work folder. Selections will be made from multiple images and put into this file. Canvas size can be enlarged or cropped to meet the needs of the image. Description: Students will create visual representation of selected pun or words that sound alike. Masks and the pen tool skills are to be incorporated in the process. Write down steps describing tools and techniques used. - See more at: http://www.incredibleart.org/lessons/high/Donna-PS.htm#sthash.24Edvu3E.dpuf
Objective:
To practice the skills from CIB vs. 7, Lessons 8 and 12
Skills:
Brushes: Vary sizes, styles, fade and opacity other options. History and Art History
Brushes: Paint modifiers: Smudge, dodge, burn, saturate, brush blending options. Layer blending modes. Filters and Gradient blend.
Concepts:
Create a collage of images that tells a visual story around a central theme such as "Aging", "Childhood Memories", "My Favorite Pastime(s)" and "Wealth." Design: Integrate and blend images (vary transparency), have a focal point, and create rhythm by repeating elements, color and shape.
Resources:
Your own art/photo/things scanned, digital camera or internet resources. (http://library.austincc.edu/w3/VCD/color.htm - Archive) Minimum 3.
Planning:
Look through image resources and collect potential images (Photos or art). Scan images as close to finished size as possible. Minimize resampling. Provide 2–4 thumbnails to instructor. Get checked off by instructor.
Document:
Set up a Photoshop document 6.5" x 9" (16.5 x 22.9 cm) horizontal or vertical at 72 dpi resolution + RGB. Save your image with "your name Integrate 3" into your own work folder. Selections will be made from multiple images (minimum 3) and put into this file. Canvas size must remain 6.5" x 9" (16.5 x 22.9 cm) for this exercise.
Description:
Students will create a representation of a visual allegory using a collage technique as means to compose and blend images together. Write down the steps of activities completed. Past skills and recently acquired skills will be used in this exercise.
- See more at: http://www.incredibleart.org/lessons/high/Donna-PS.htm#sthash.24Edvu3E.dpuf
Using Layer Masks, Clipping Groups, Shapes, and Adjustment Layers
Objective:
To practice the skills from CIB vs. 5.5 Lesson 8; vs. 7 Lessons 10 and 11
Skills:
Layer Masks, Layer clipping groups, Paths, Adjustment Layers.
Concepts:
Create surreal portraits or objects by combining other images inside a shape/outline that represents its’ inner workings. Design: Integrate and blend images (vary transparency), have a focal point, and show awareness of positive and negative space.
Resources:
Your own art/photo/things scanned, digital camera or internet resources. (http://library.austincc.edu/w3/VCD/color.htm - Archive) Minimum 3.
Planning:
Look through image resources and collect potential images (Photos or art). Scan images as close to finished size as possible. Minimize sampling. Provide 2–4 thumbnails to instructor. Get checked off by instructor.
Document:
Set up a Photoshop document 6.5" x 9" (16.5 x 22.9 cm) horizontal format with a resolution of 72 dpi, RGB. Save your image with "your name Integrate 4" into your own work folder. Selections will be made from multiple images (minimum 3) and put into this file. Canvas size must remain 6.5" x 9" (16.5 x 22.9 cm) for this exercise.
Description:
Students will create surreal portraits or objects by blending and clipping other images into silhouettes or other shapes. Add special effects and vary transparency to integrate images. Write down the steps of activities completed. Past skills and newly acquired skills will be used for this exercise.
- See more at: http://www.incredibleart.org/lessons/high/Donna-PS.htm#sthash.24Edvu3E.dpuf
